
Gatsby.jsブログの公開にはNetlifyというホスティングサービスを使います。
NetlifyとGitHubを連携することで、Gatsbyで作ったサイトがWeb上に公開でき、また更新も自動で反映してくれます。
使うもの
- GitHub
- Netlify
事前準備として、GitHubとNetlifyのアカウント(無料プランでOK)を取得しておきます。
GitHubリポジトリにプロジェクトをpushする
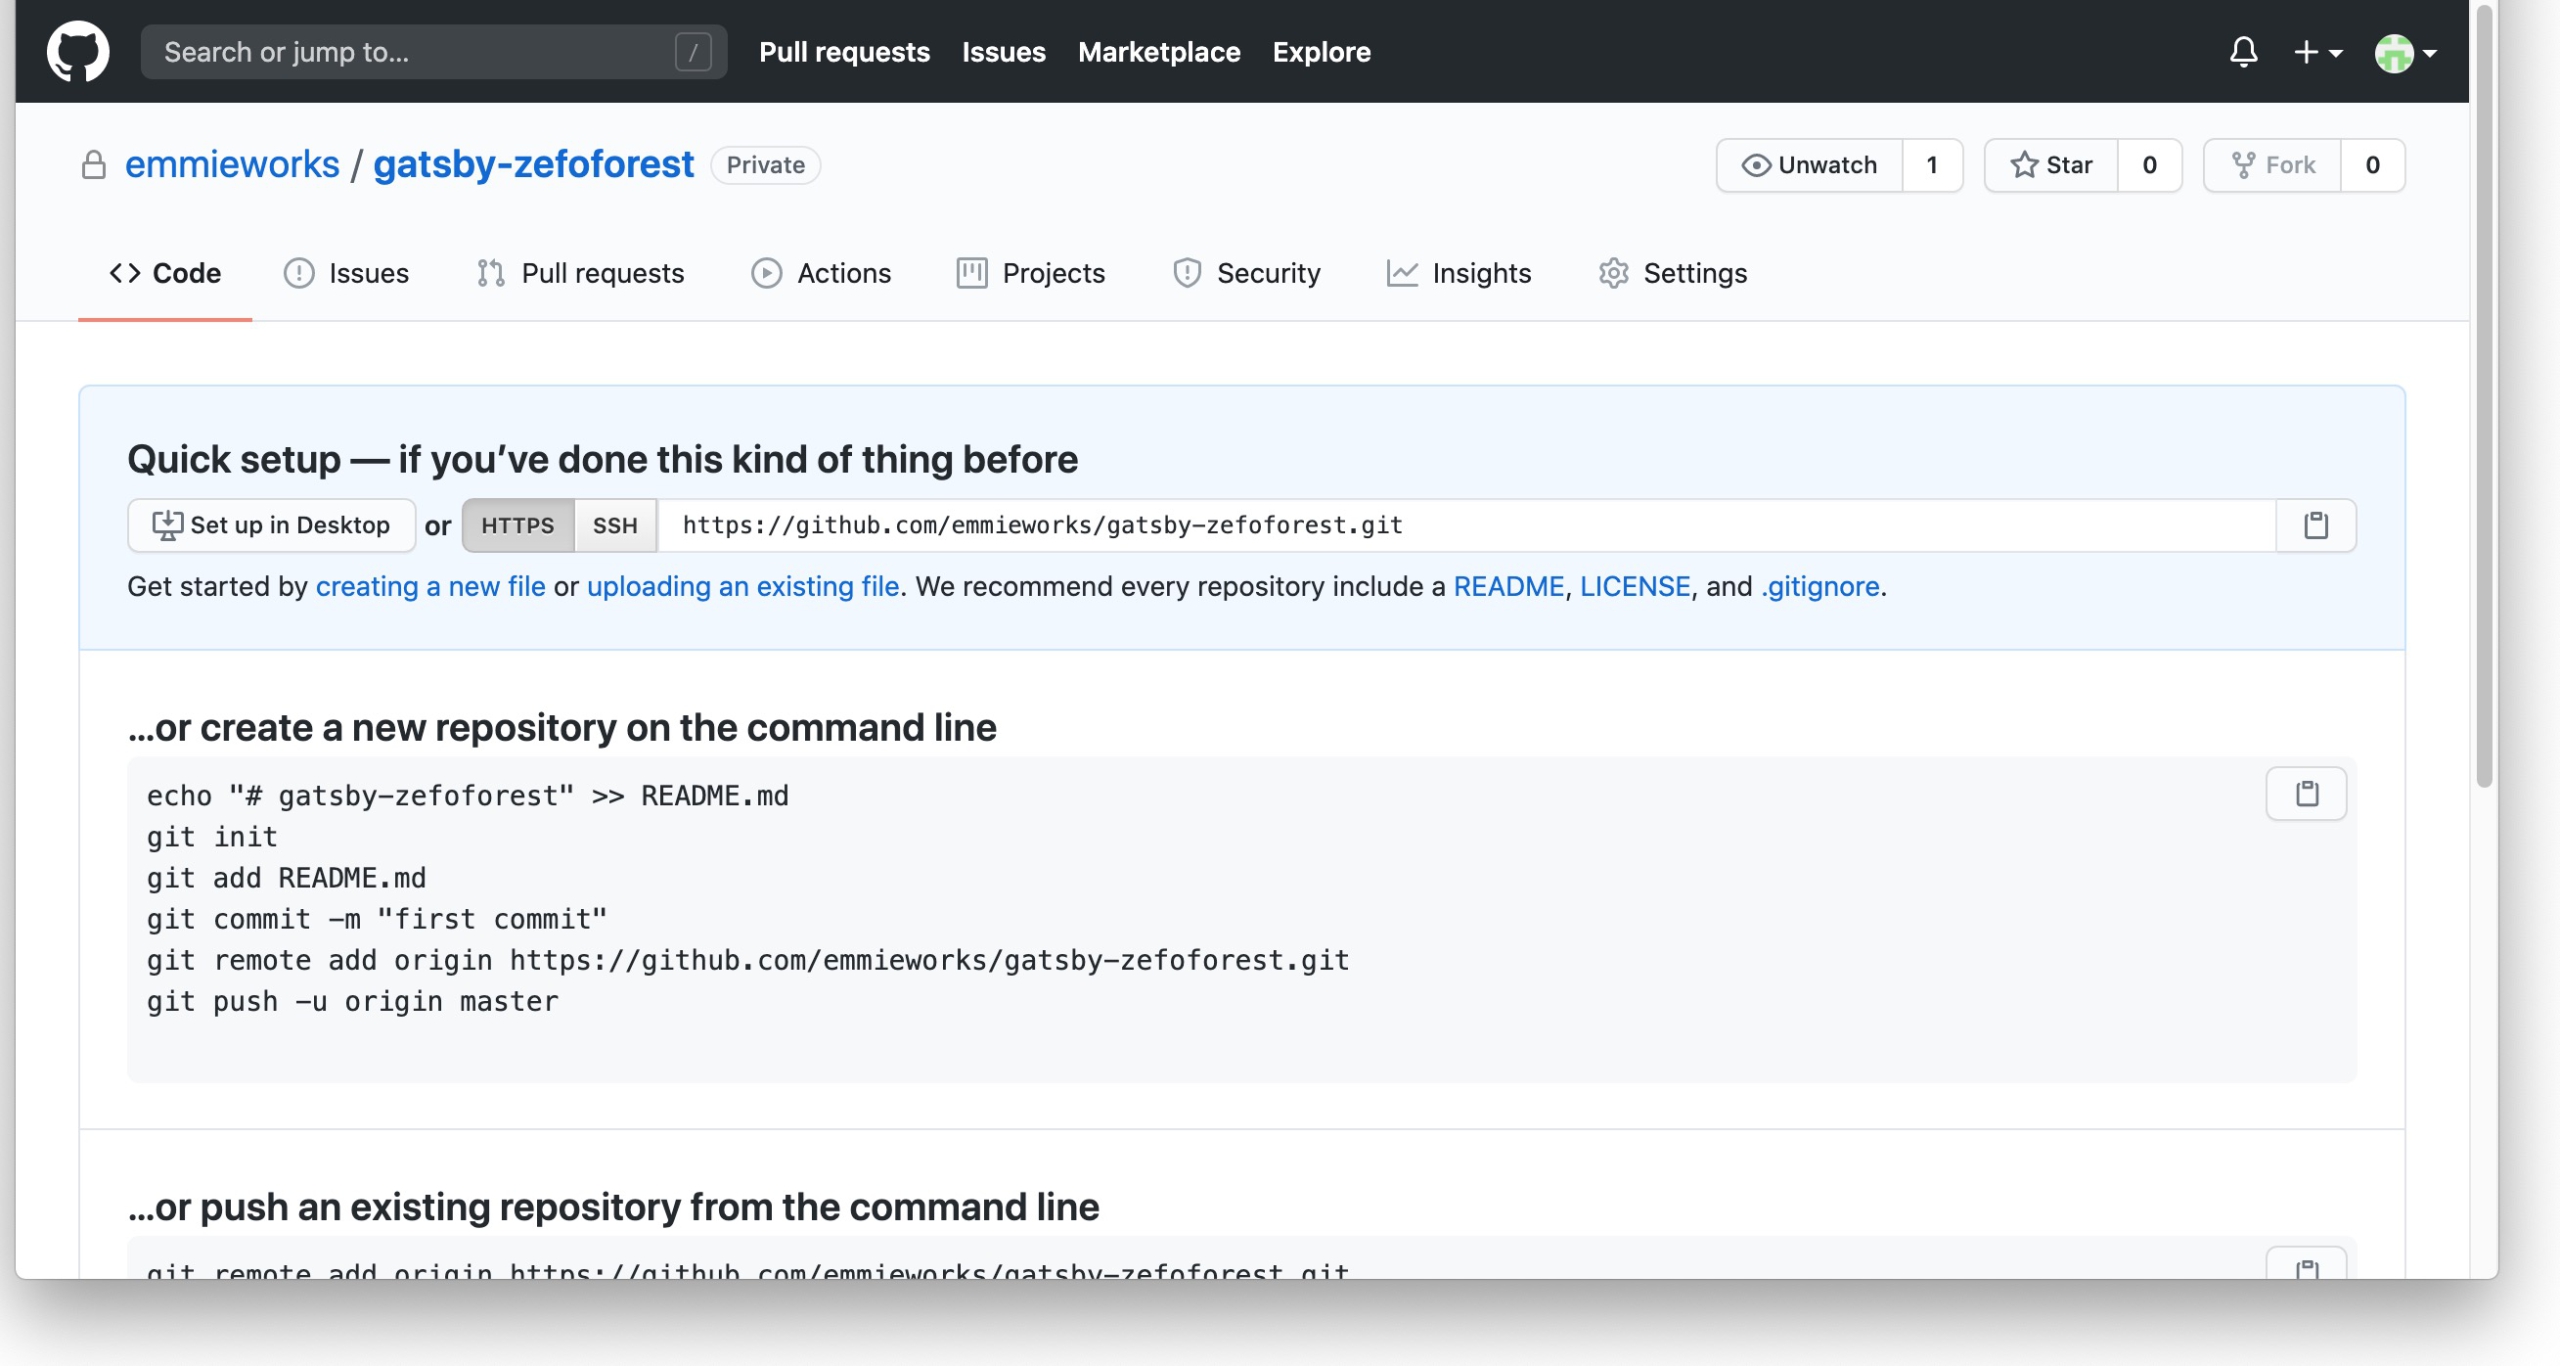
GitHubで新しいリポジトリを作成します。
プロジェクトフォルダでターミナルを開きます。
スターターブログなどをコピーしてプロジェクトを作った場合、プロジェクトフォルダ内に「.git」が作成されていますので、「.git」を削除しておきます。
rm -rf .gitGitHubのコマンドに従って、リモートリポジトリにプロジェクトをプッシュします。

ローカルリポジトリの新規作成
git init
git add -A
git commit -m "first commit"
git remote add origin https://github.com/emmieworks/gatsby-zeroforest.git
最後の行のURLはリポジトリのURLに変更してください。
プロジェクトをプッシュ
git push -u origin masterこれで、GitHubのリポジトリをみると、ファイル群が追加されています。
Netlifyでサイトを公開
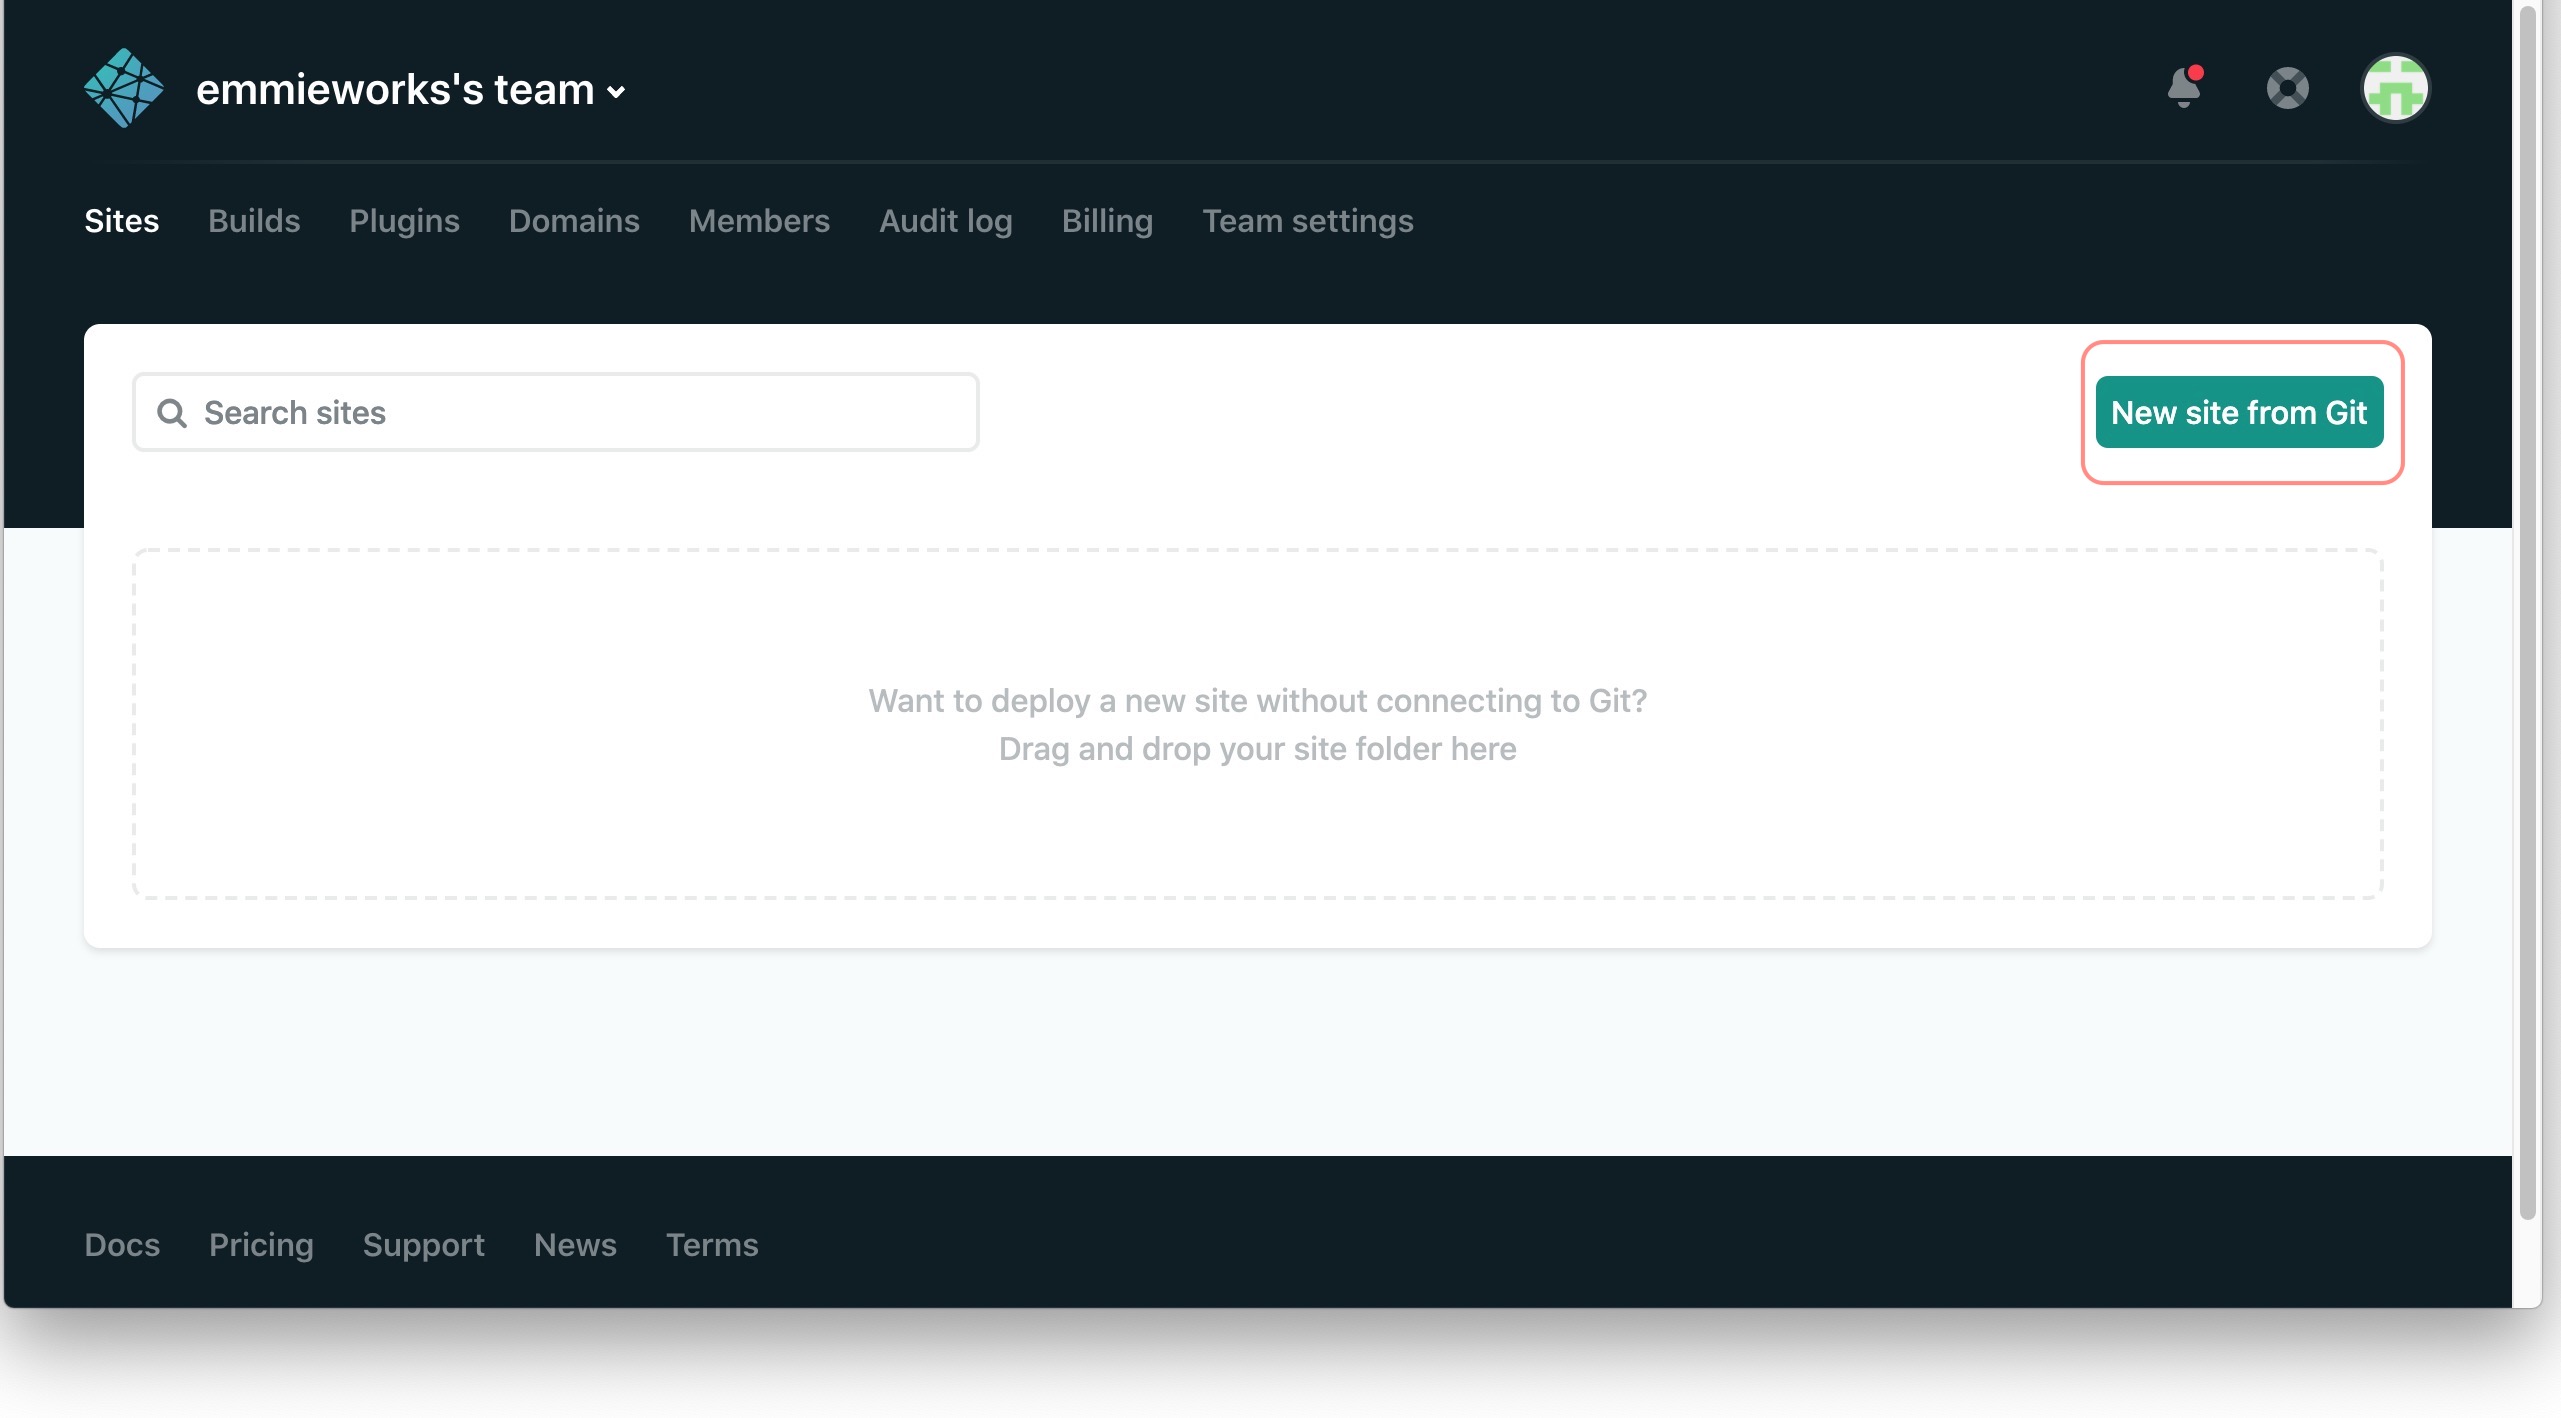
NetlifyにGitHubから新規サイトを登録します。
ログインして、右上の「New Site From Git」ボタンをクリックします。
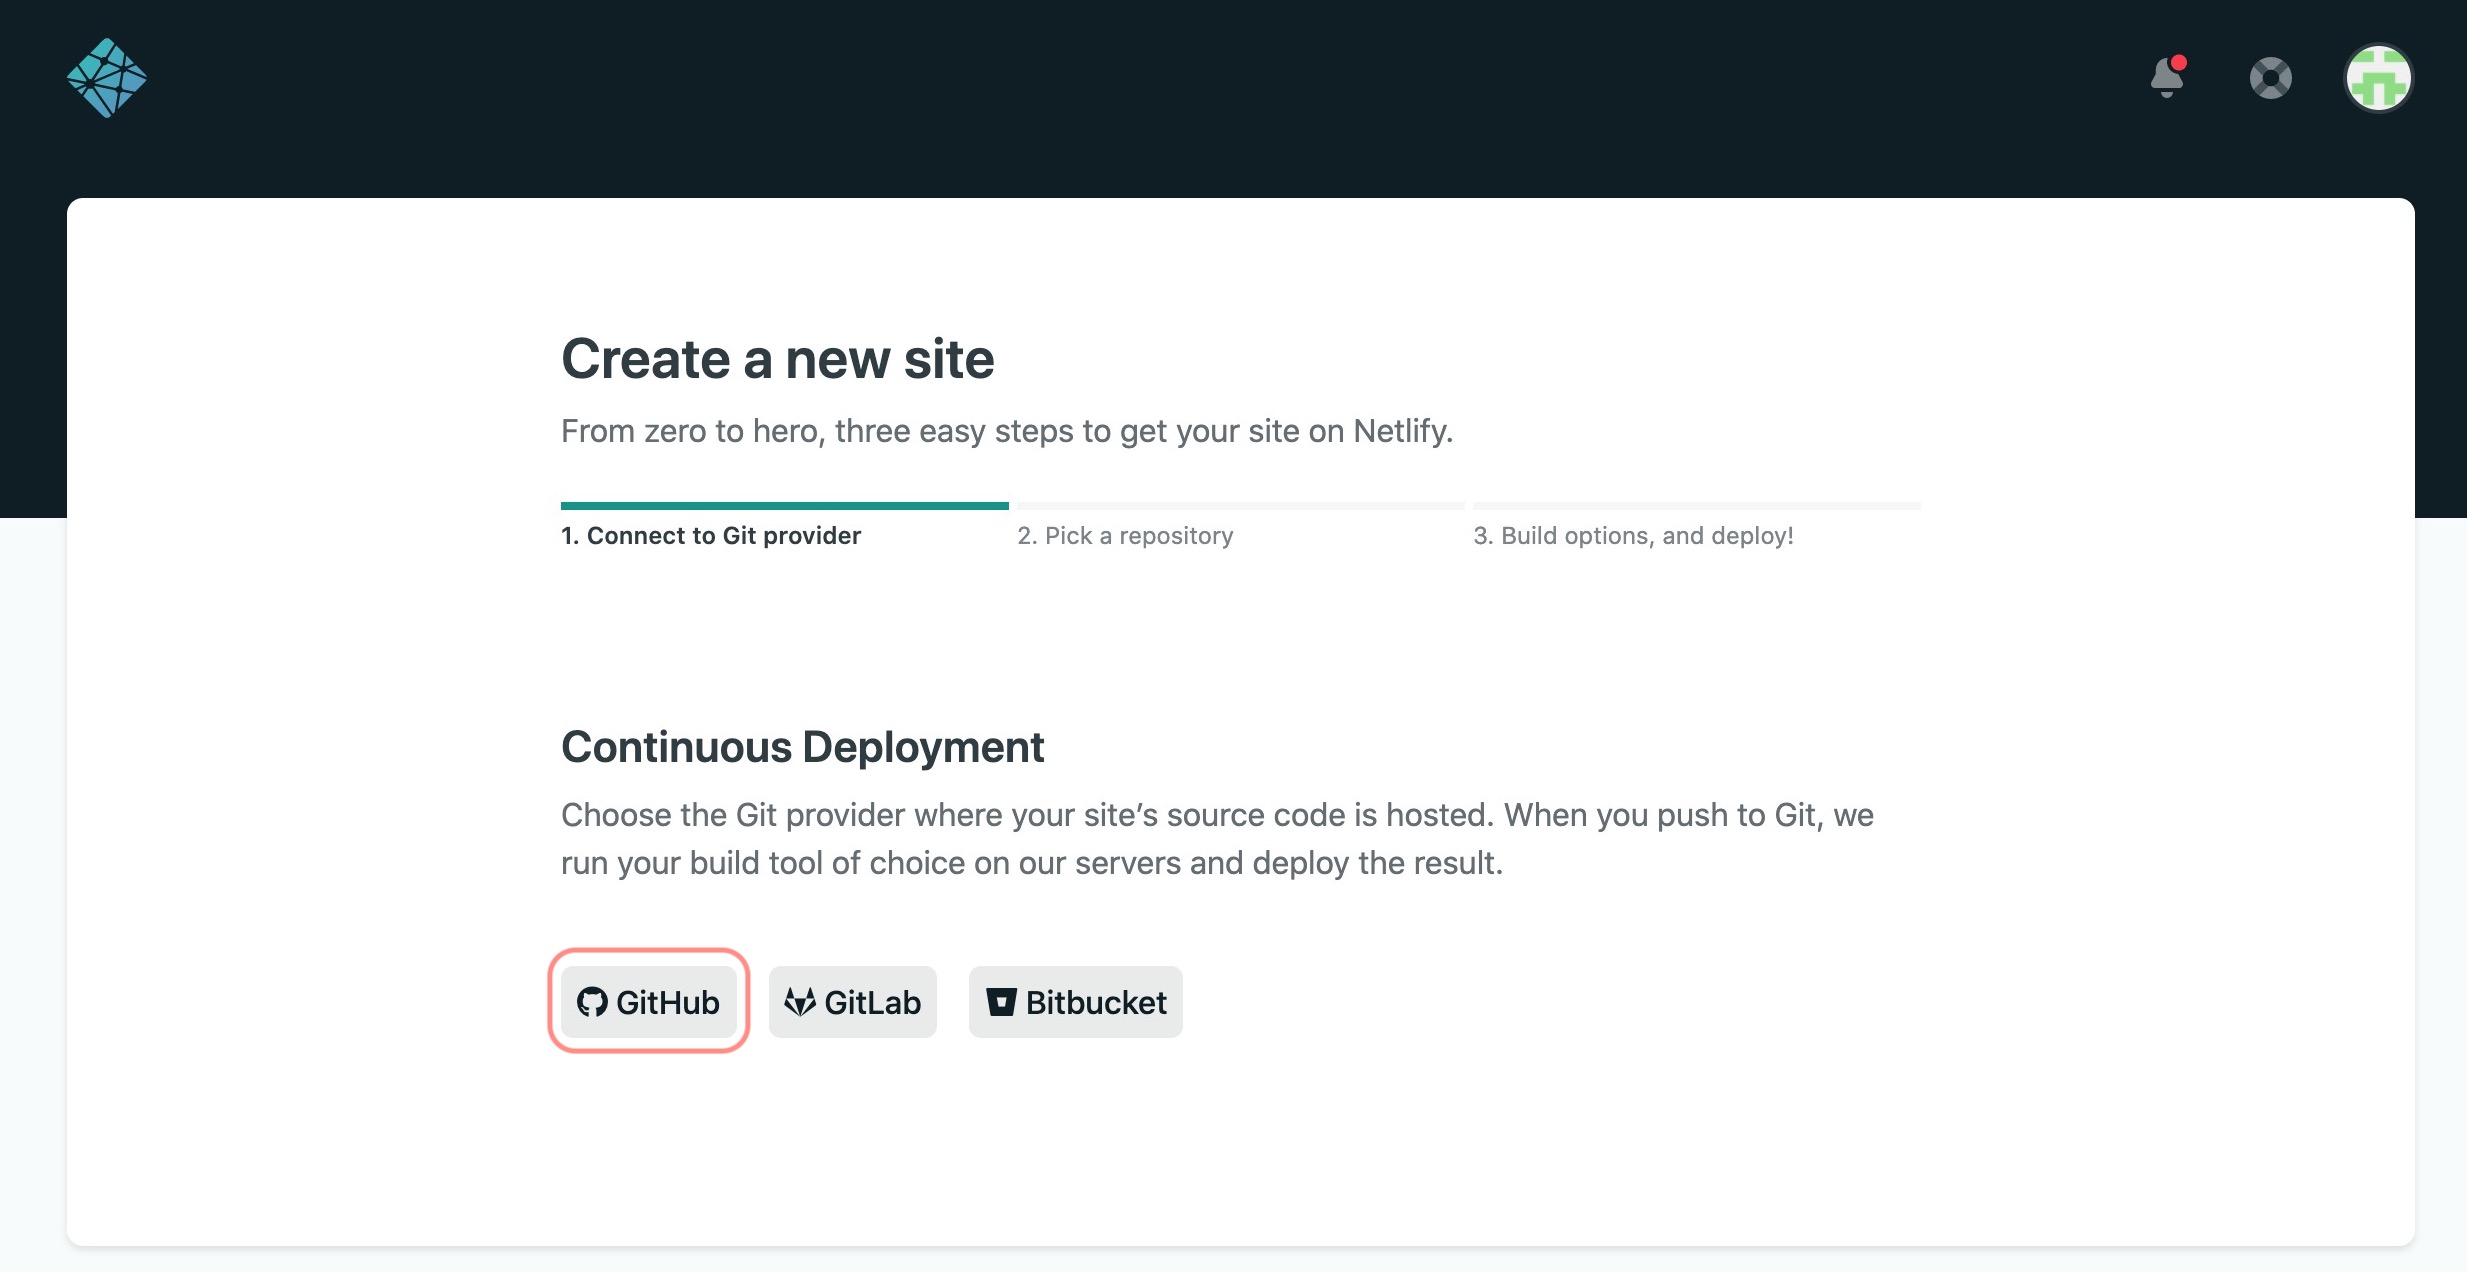
「GitHub」ボタンをクリックします。
Netlifyと連携させたいリポジトリ(先ほどプッシュしたリポジトリ)を選んで、次に進みます。
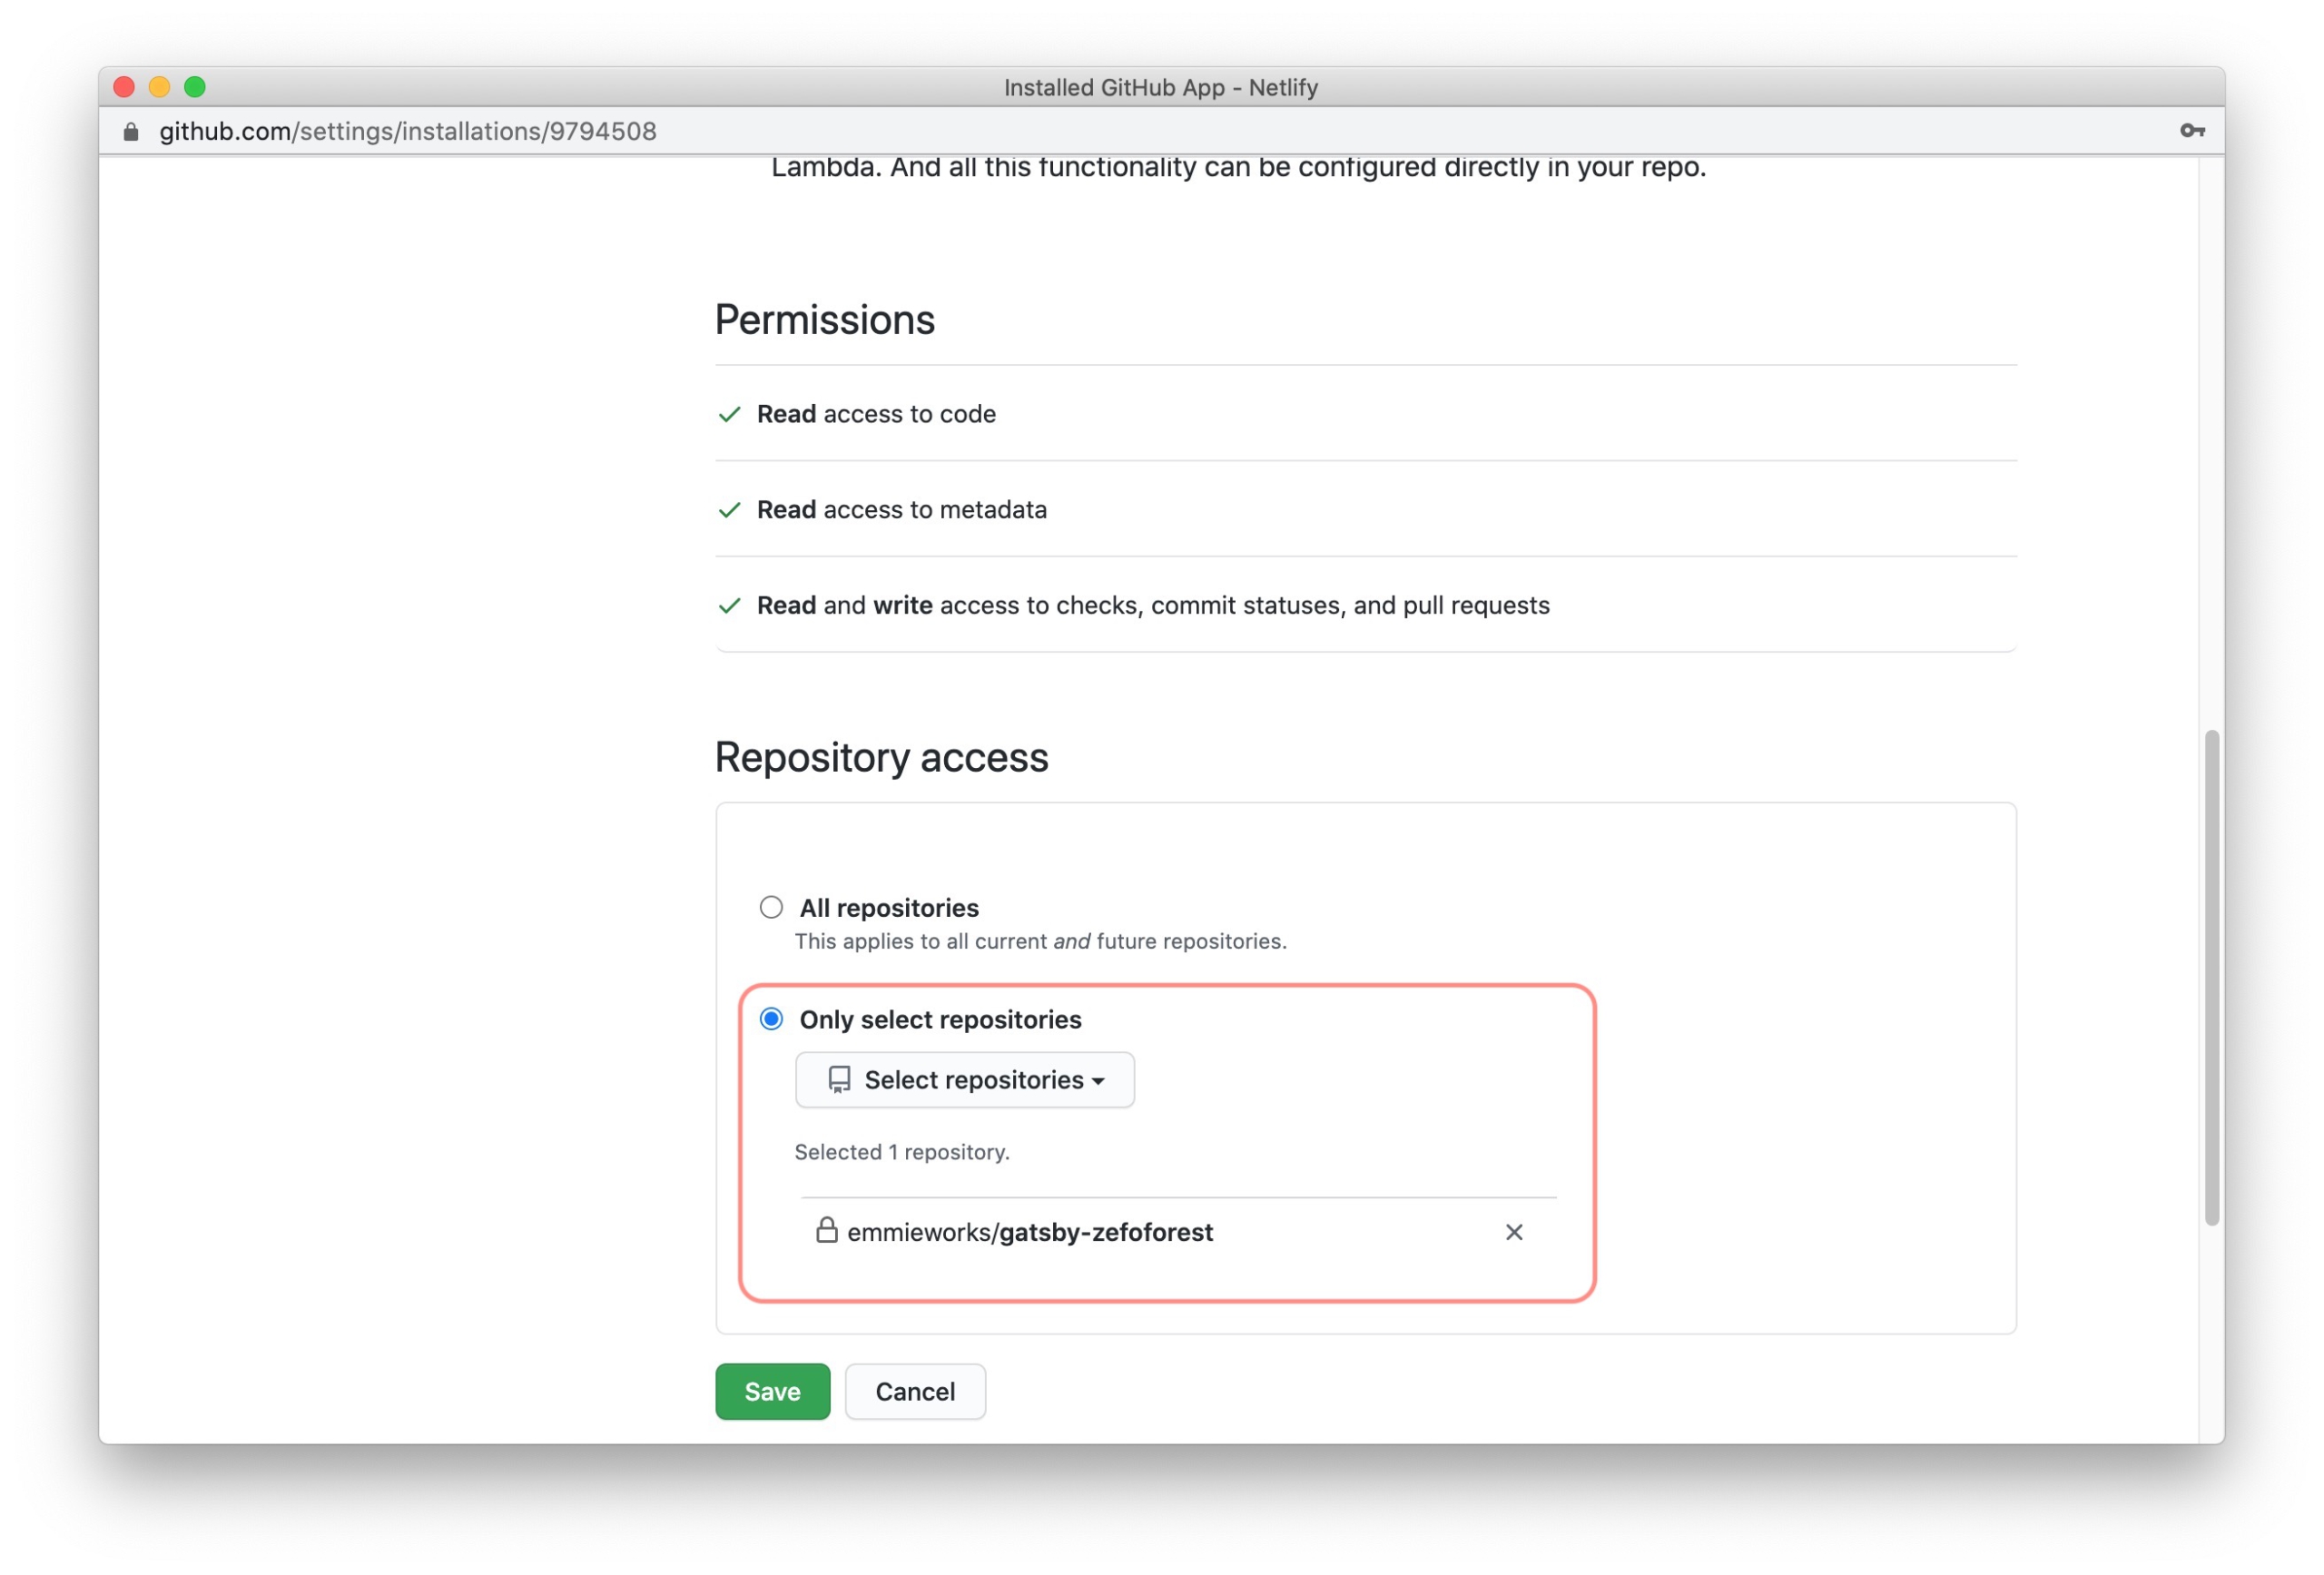
リポジトリを選択します。
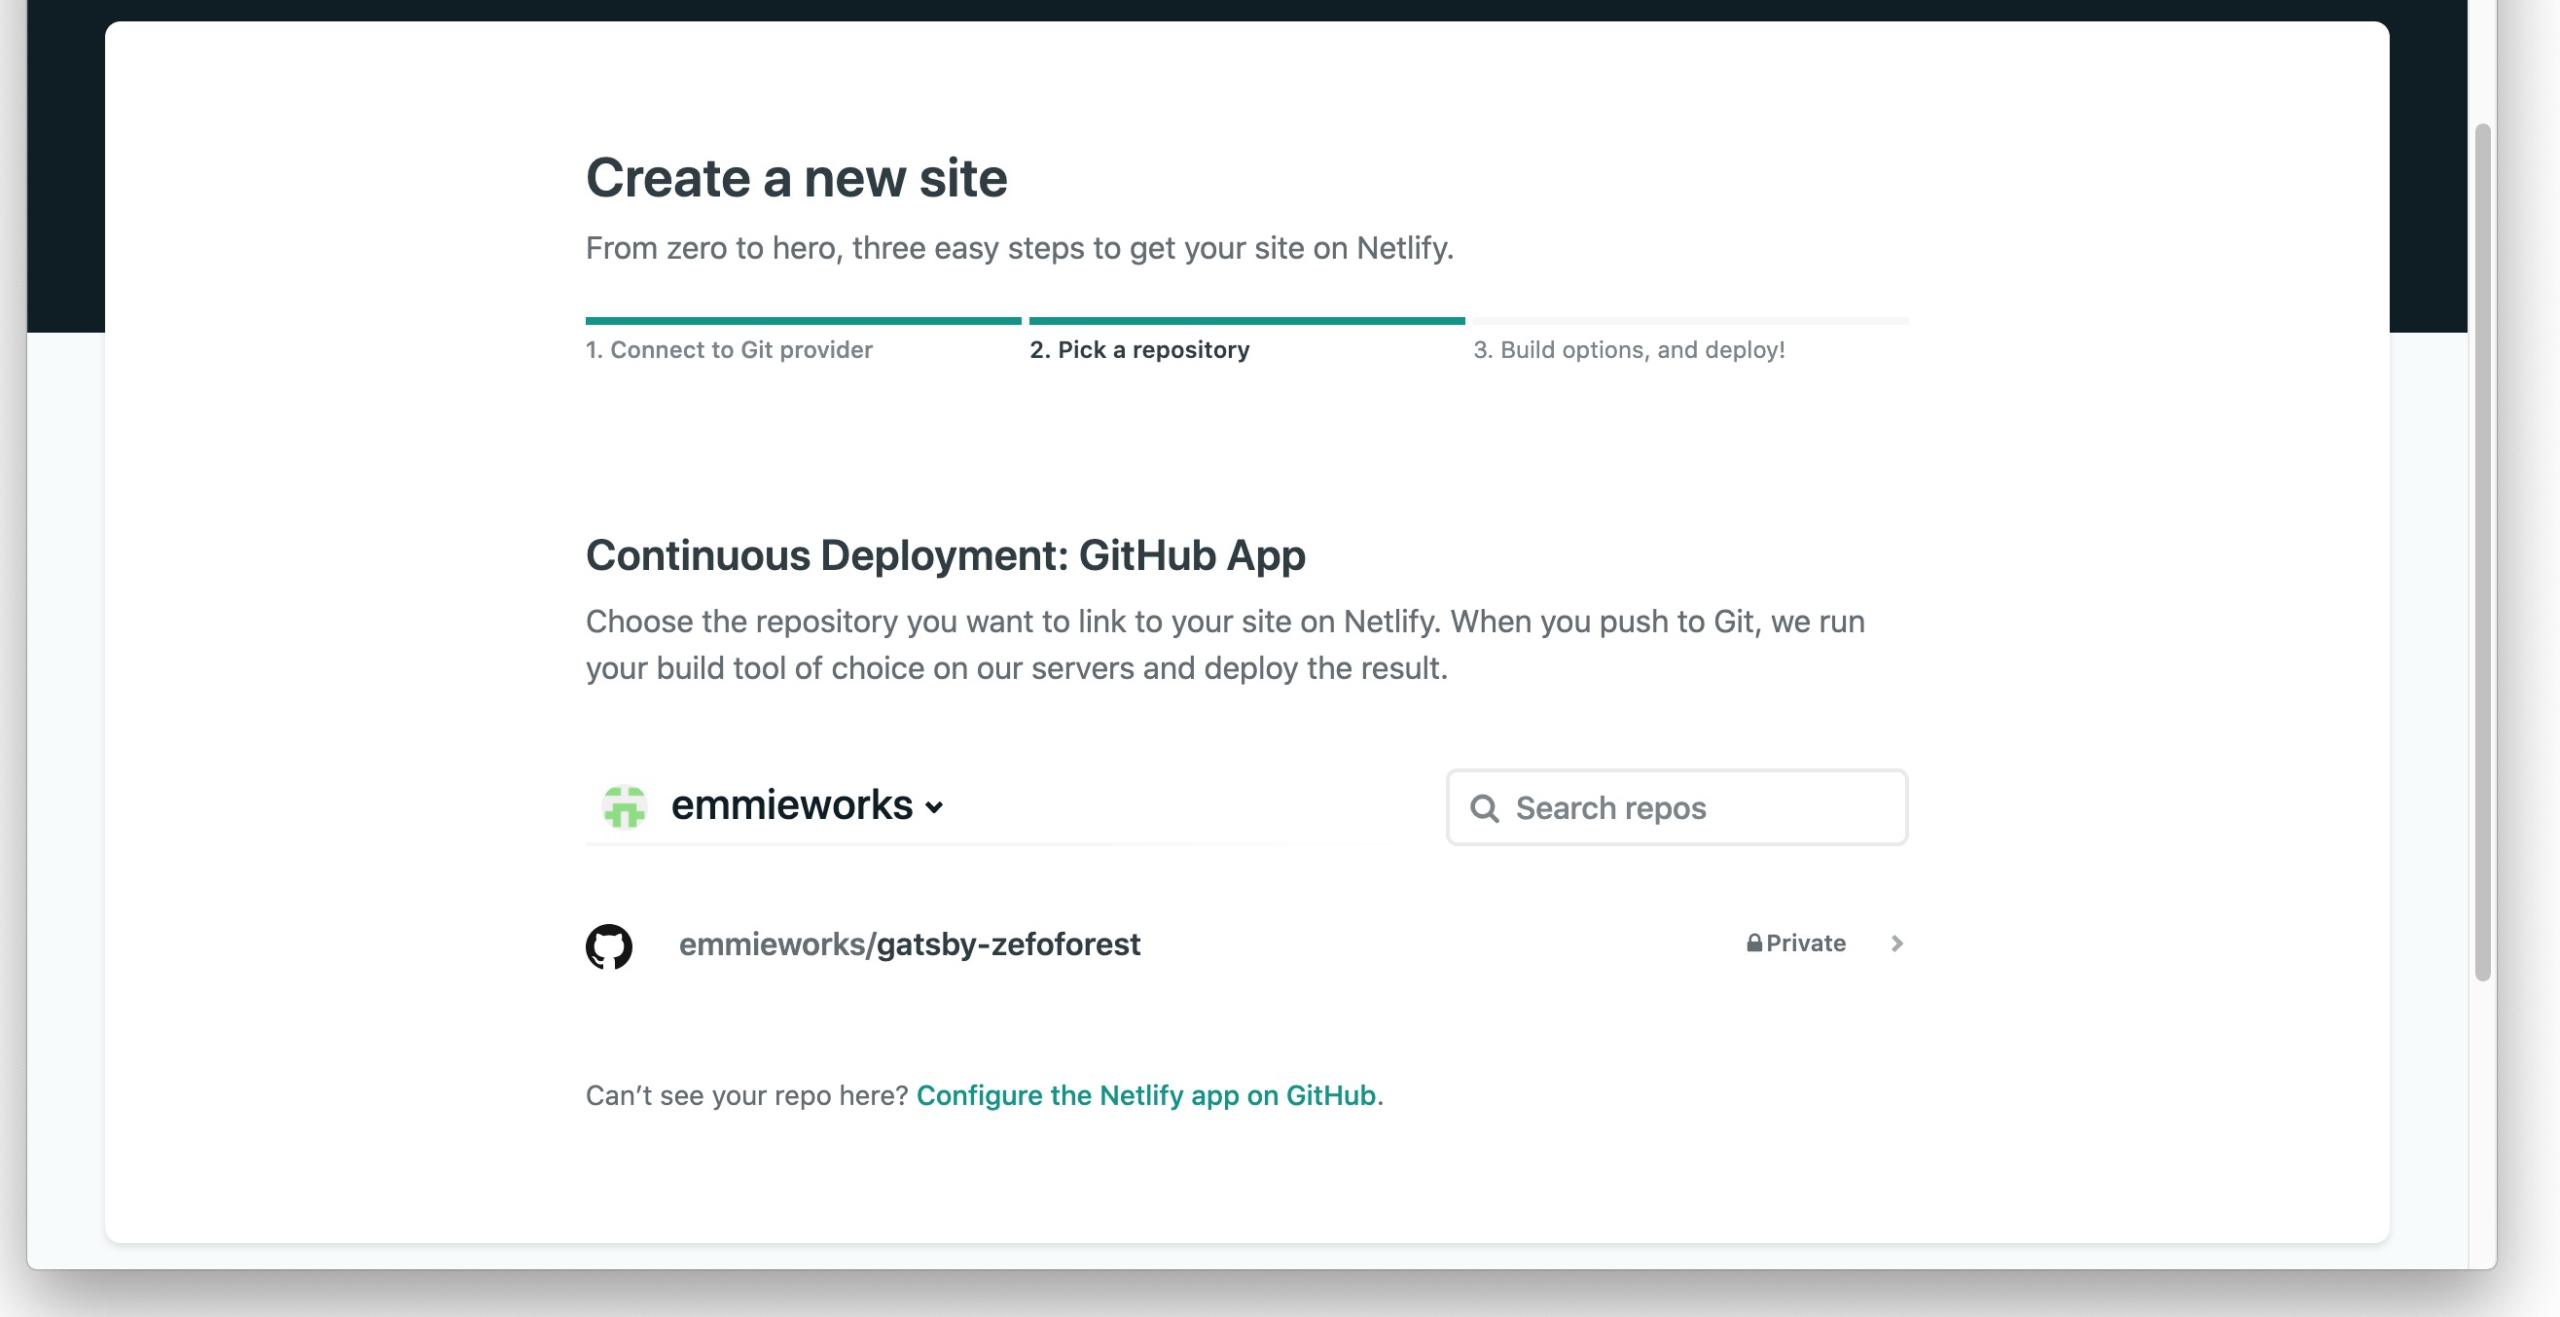
「Deploy Site」をクリックします。

デプロイが開始します。
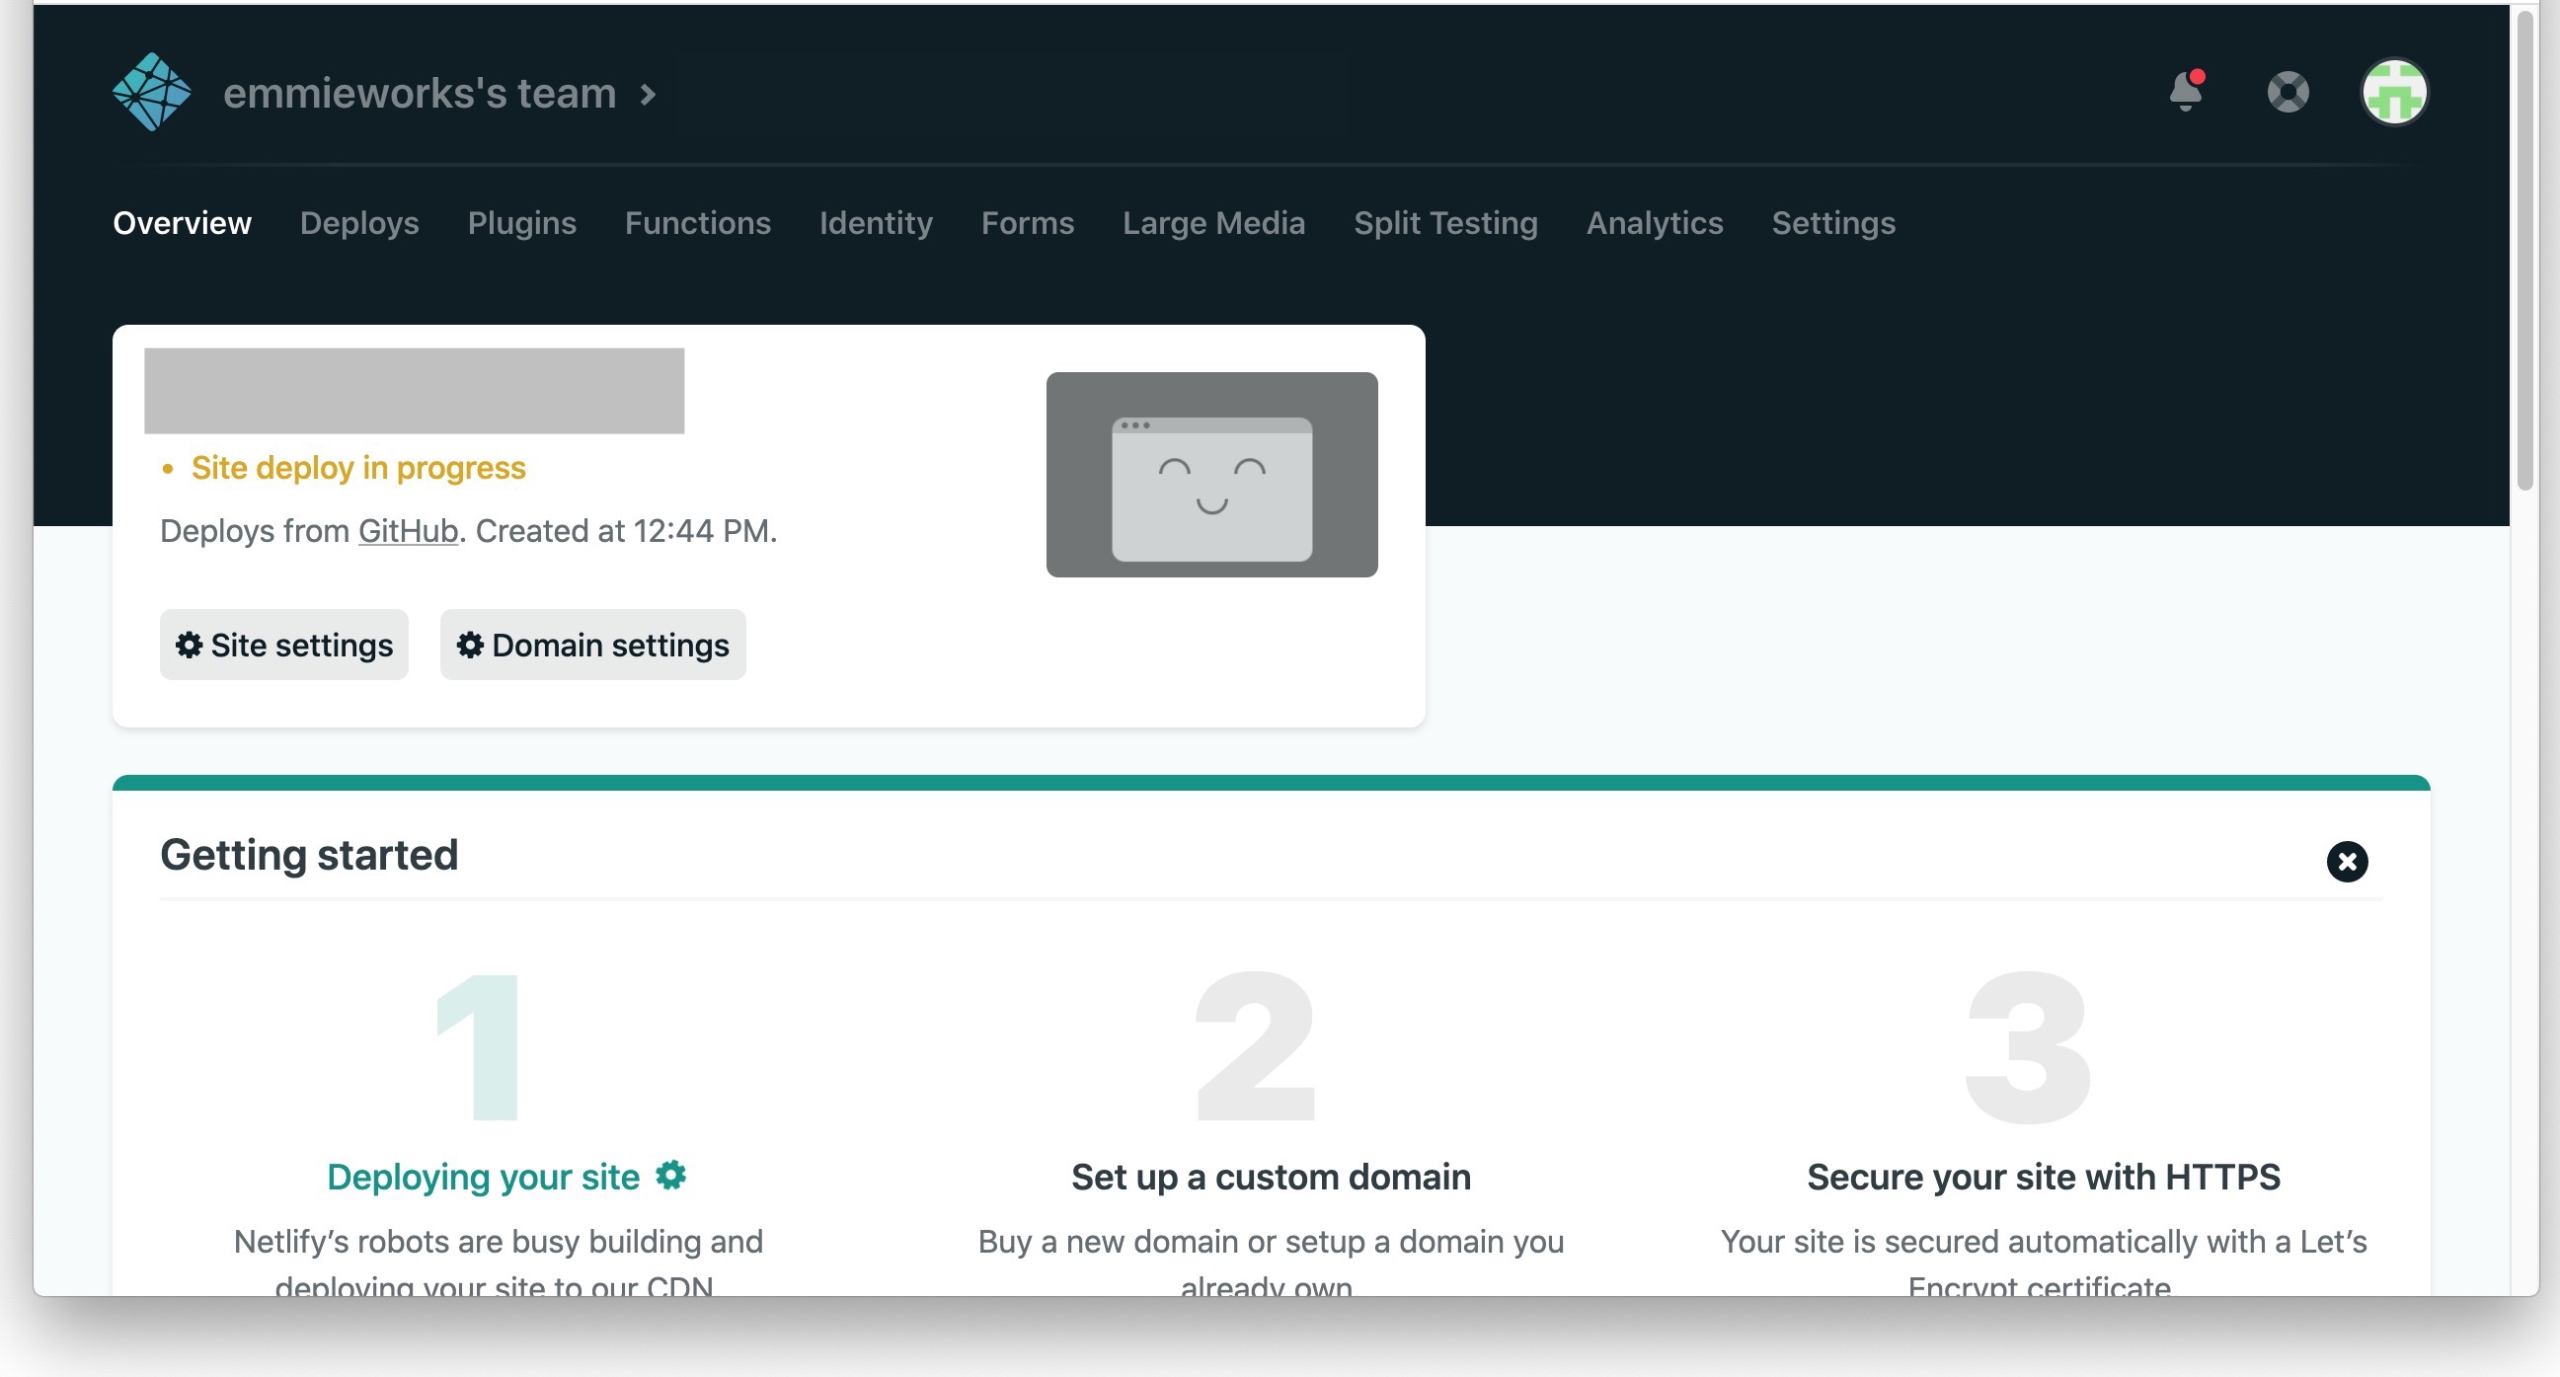
デプロイが終わるとhttps://xxx.netlify.appというURLが表示されます。
これがHPのURLになります。
Netlifyに独自ドメインを設定する(ムームードメインの場合)
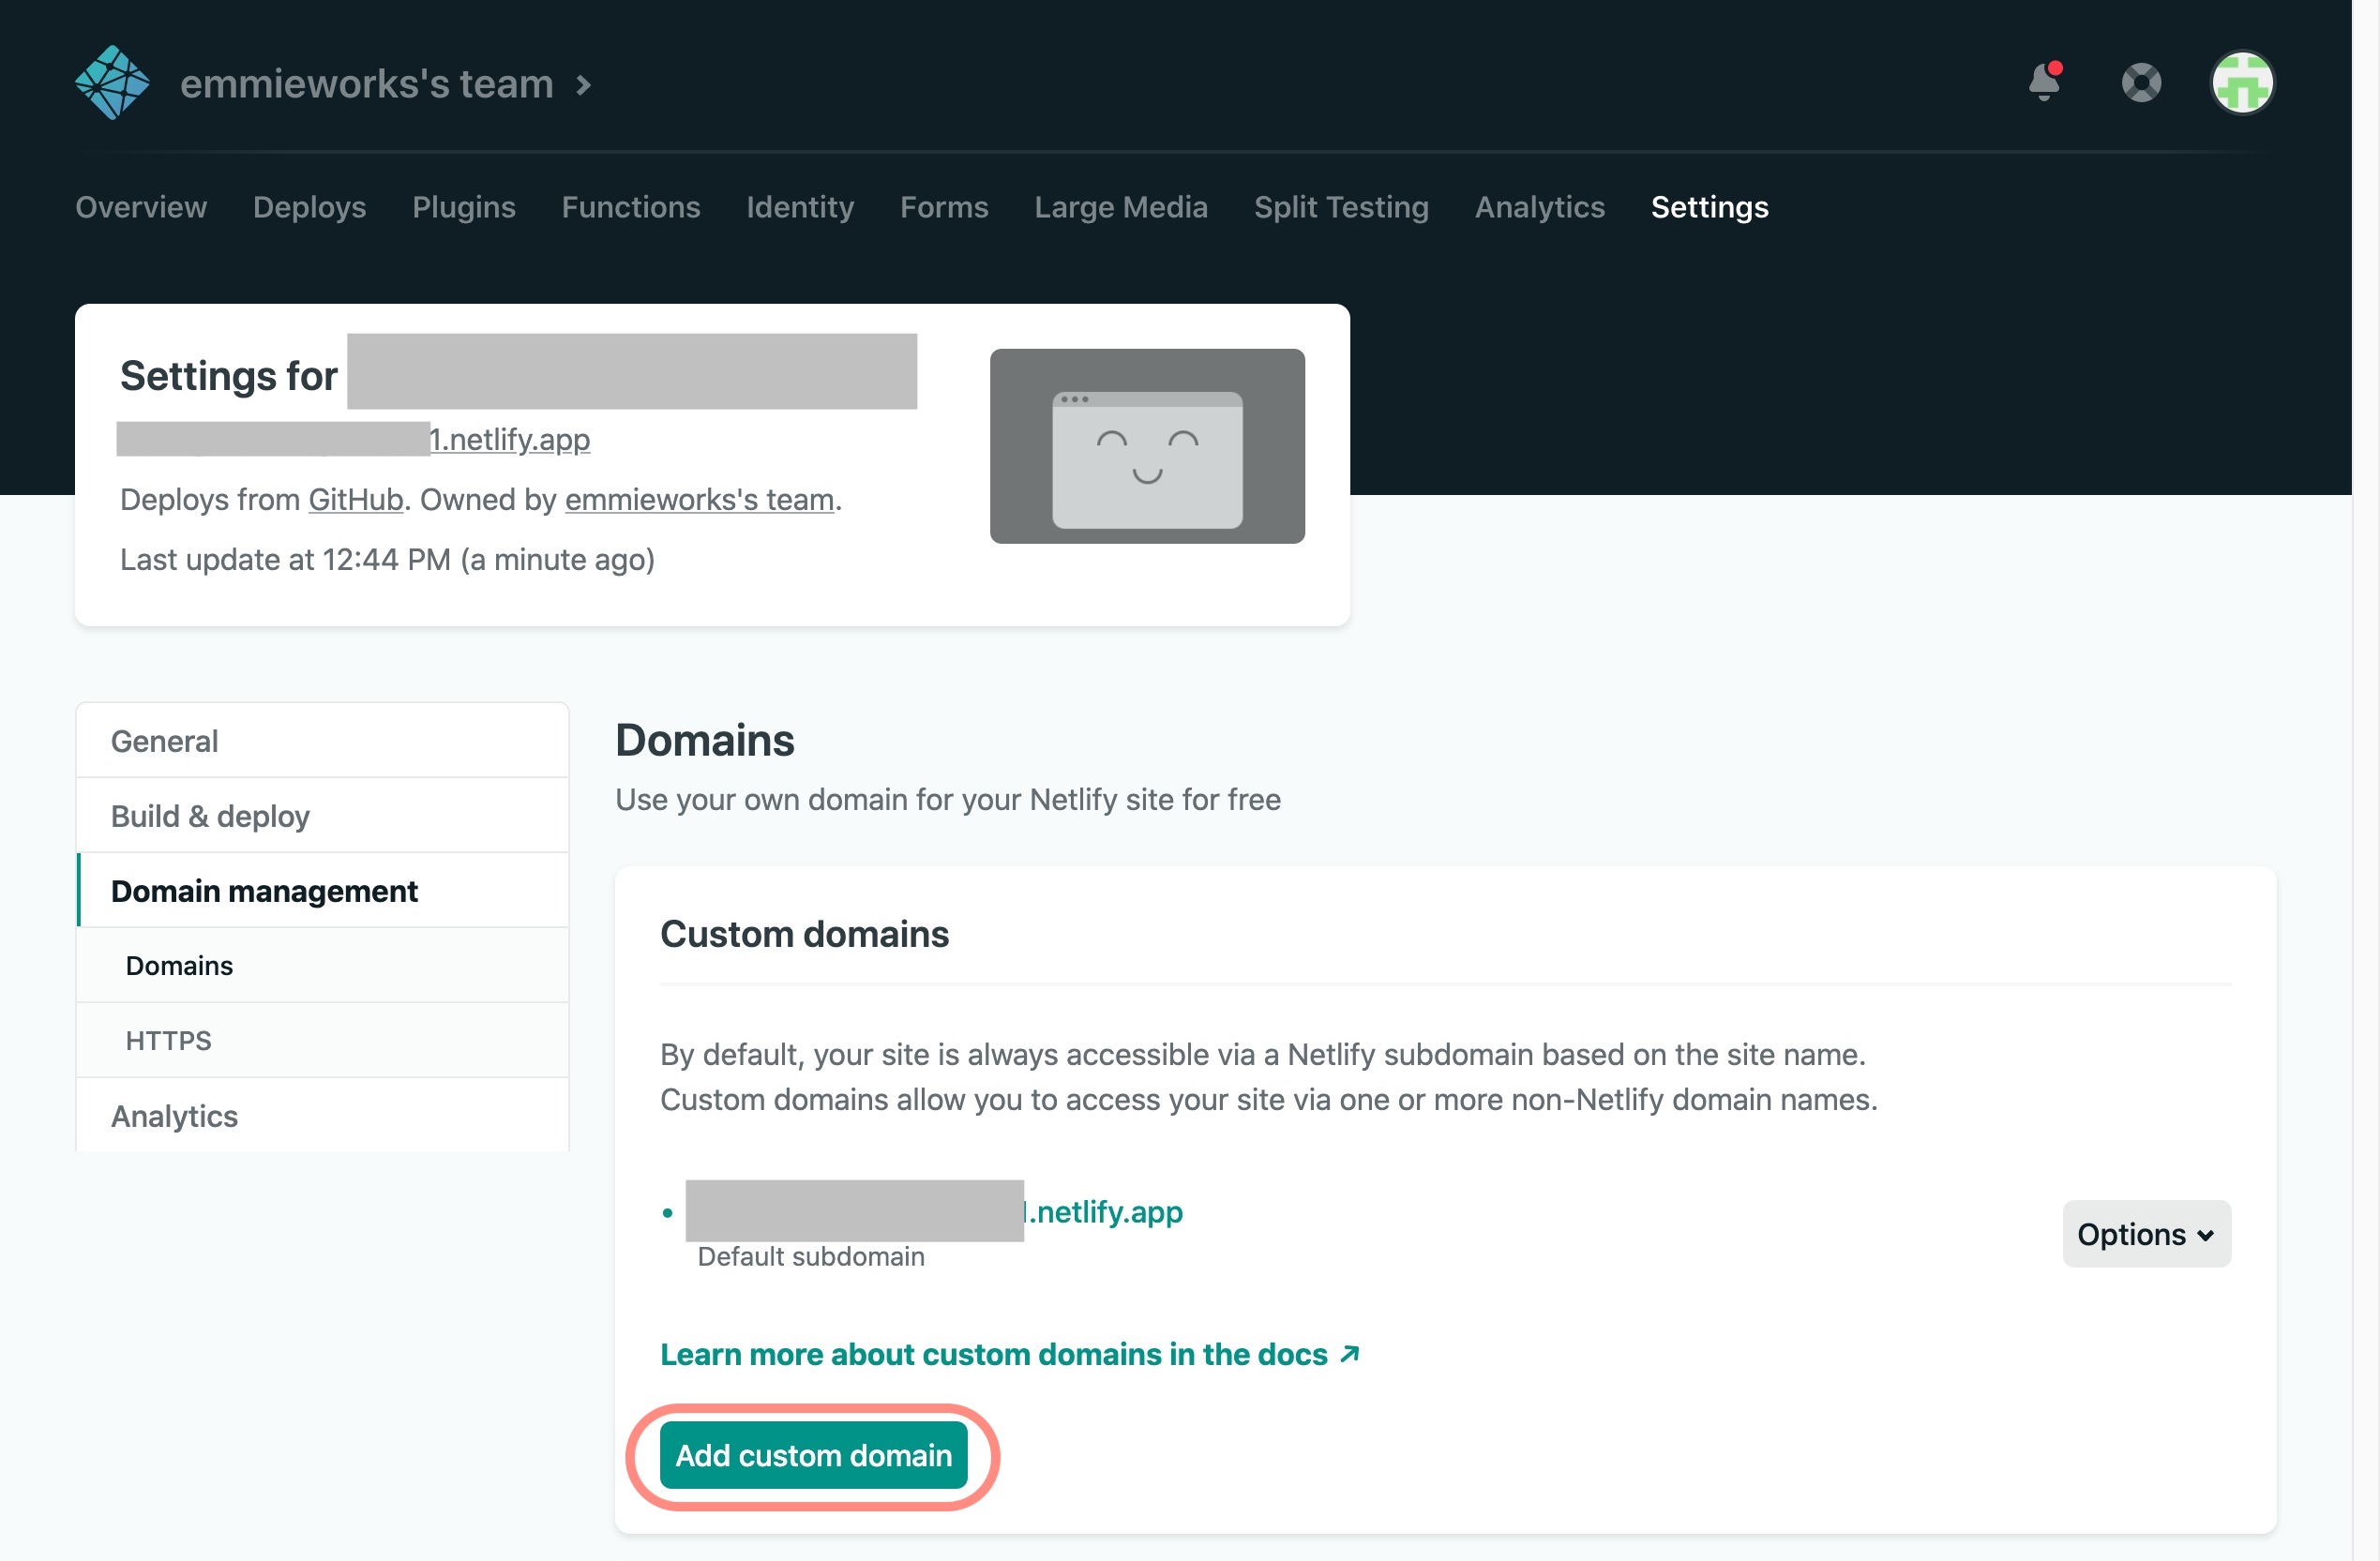
独自ドメインを設定します。
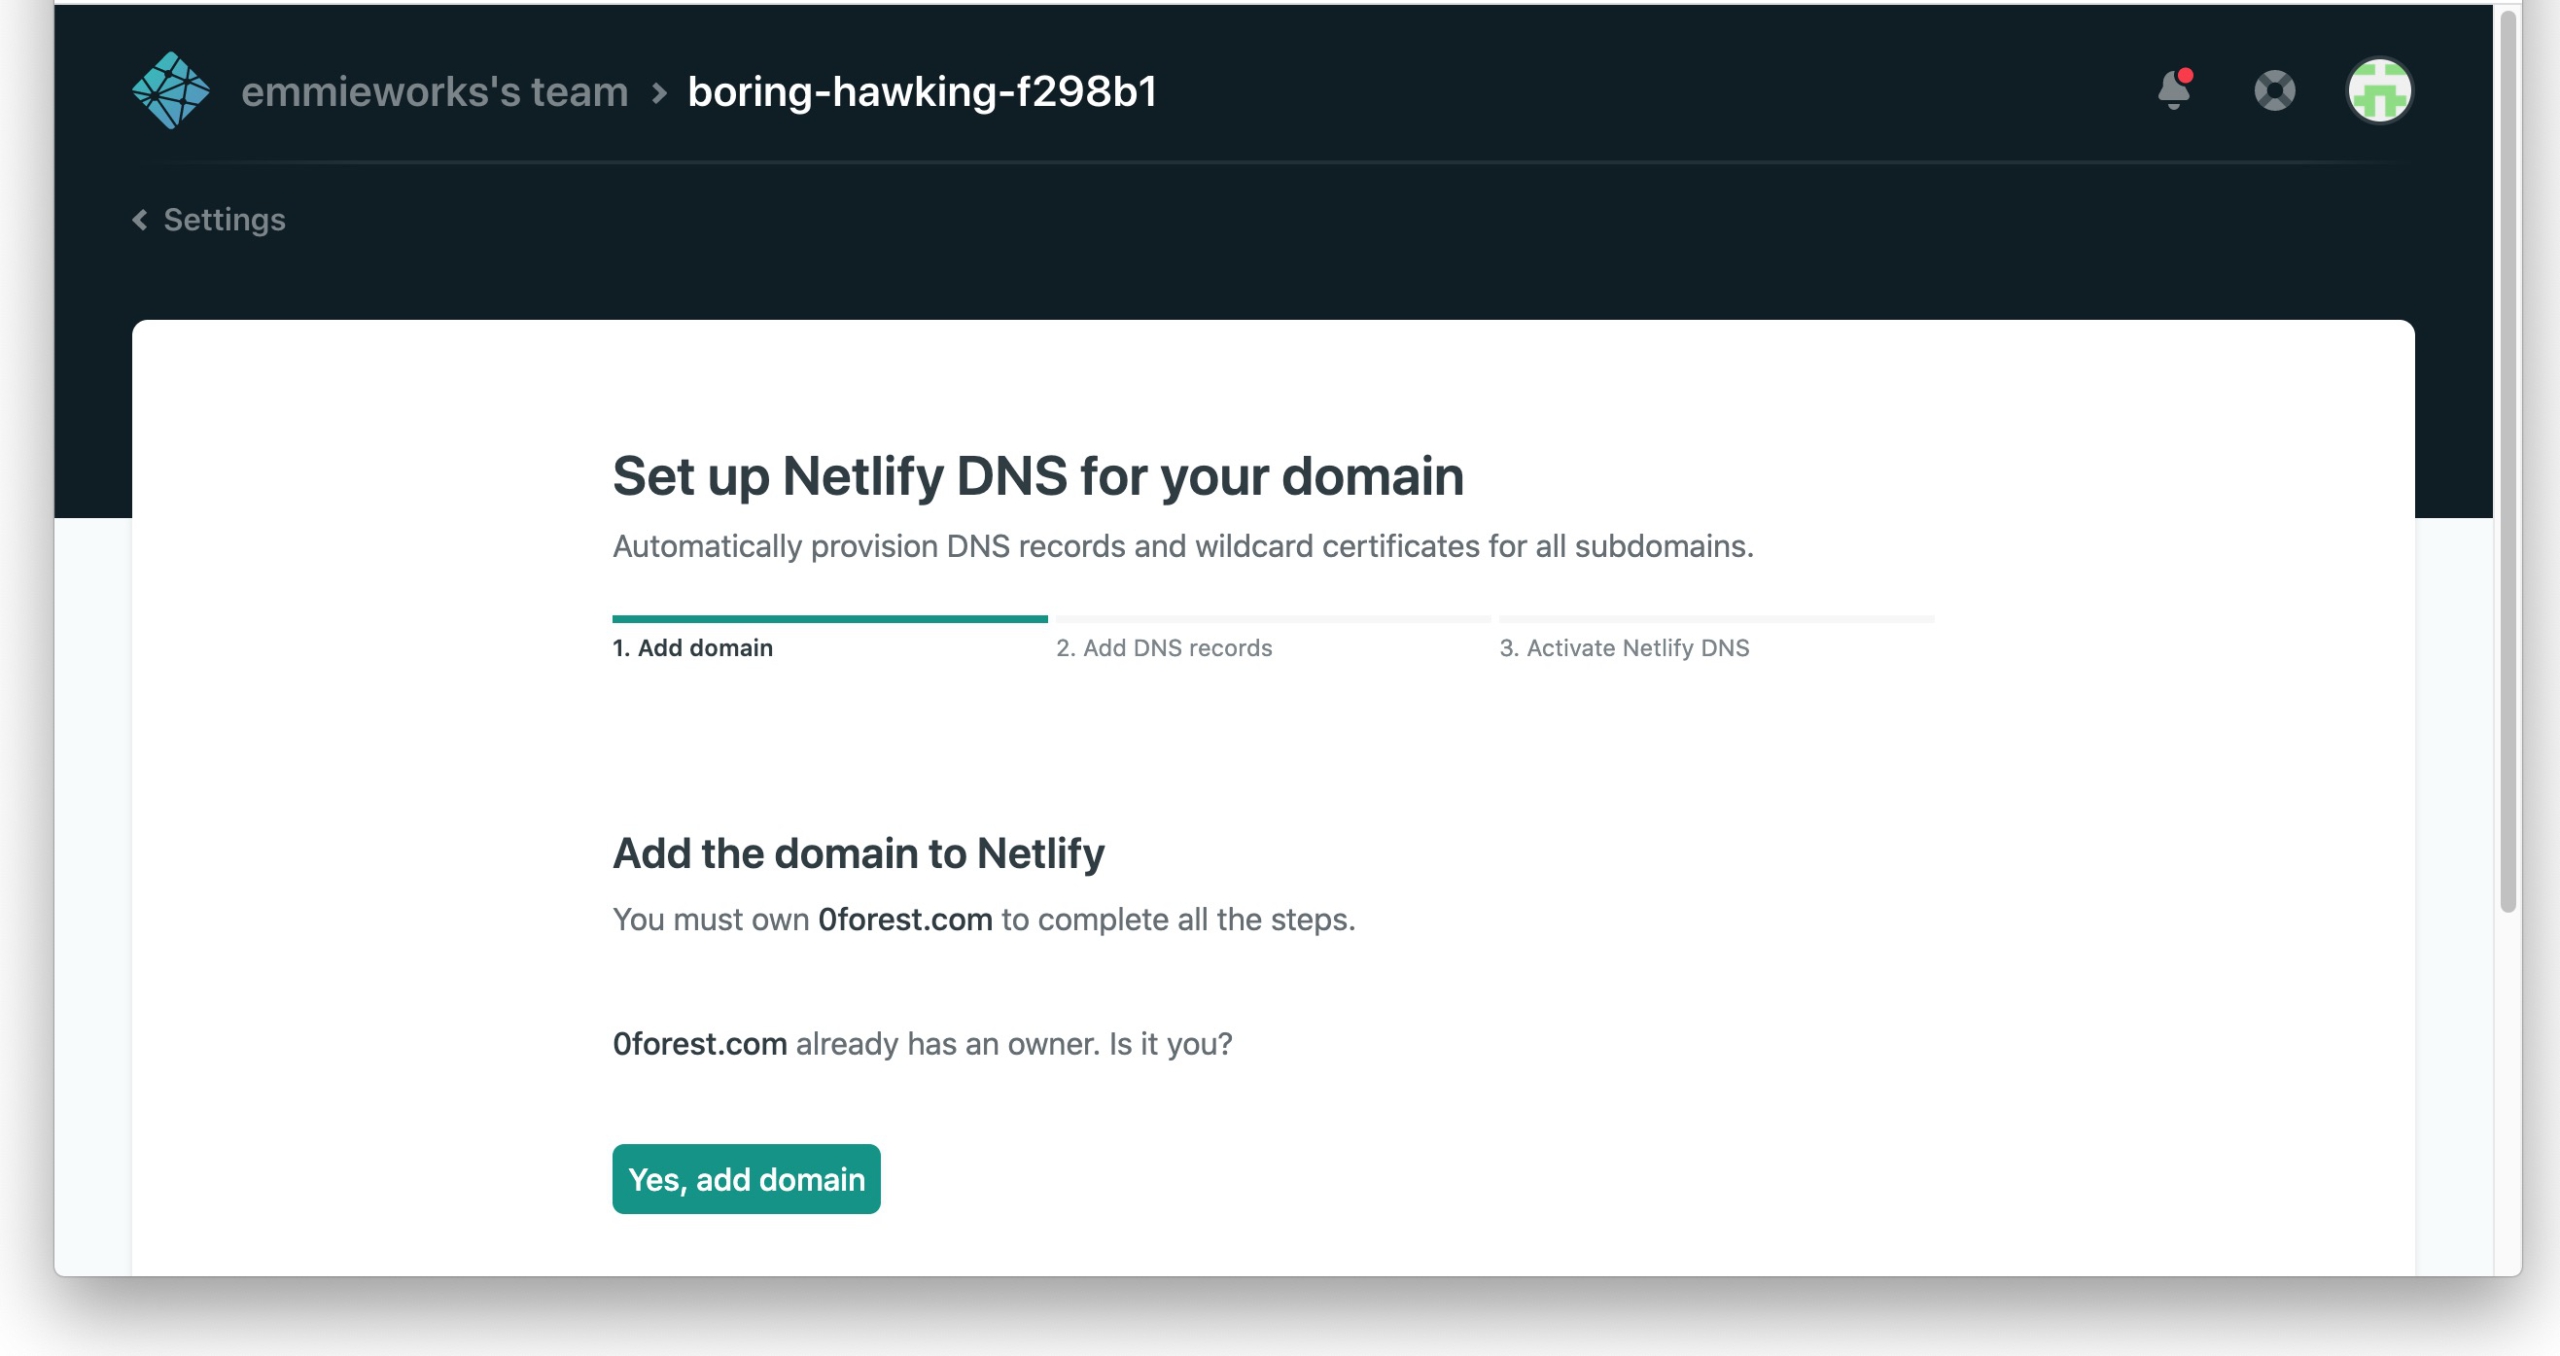
SettingsのDomainから、Custom Domainメニューのドメインを追加します。
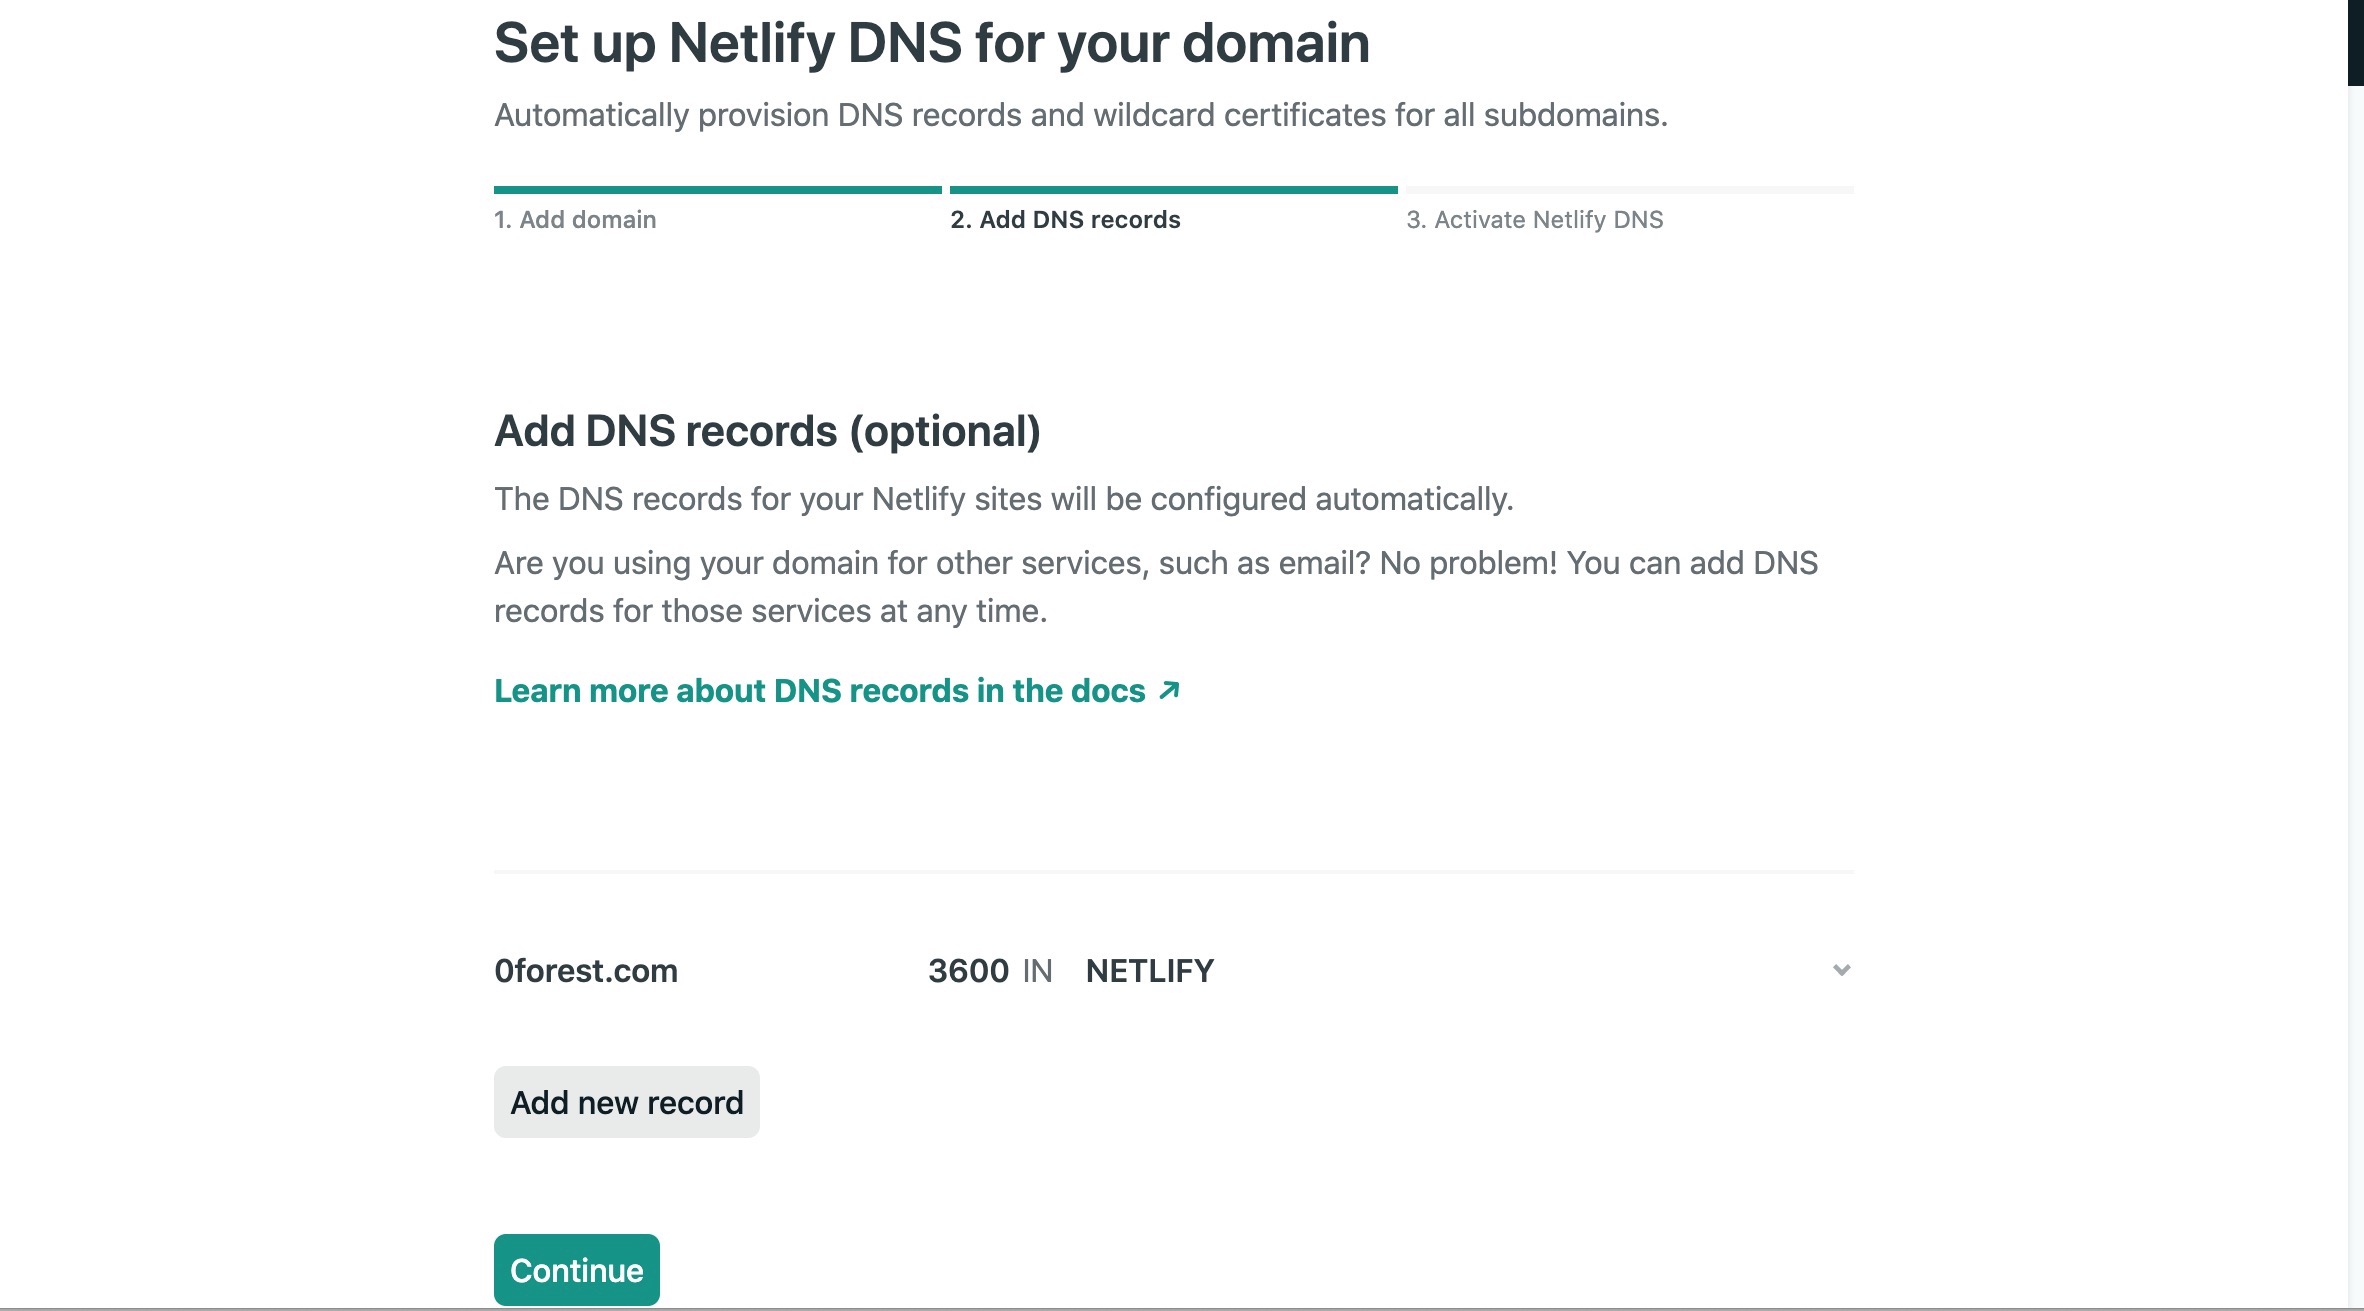
DNS Configurationを設定します。
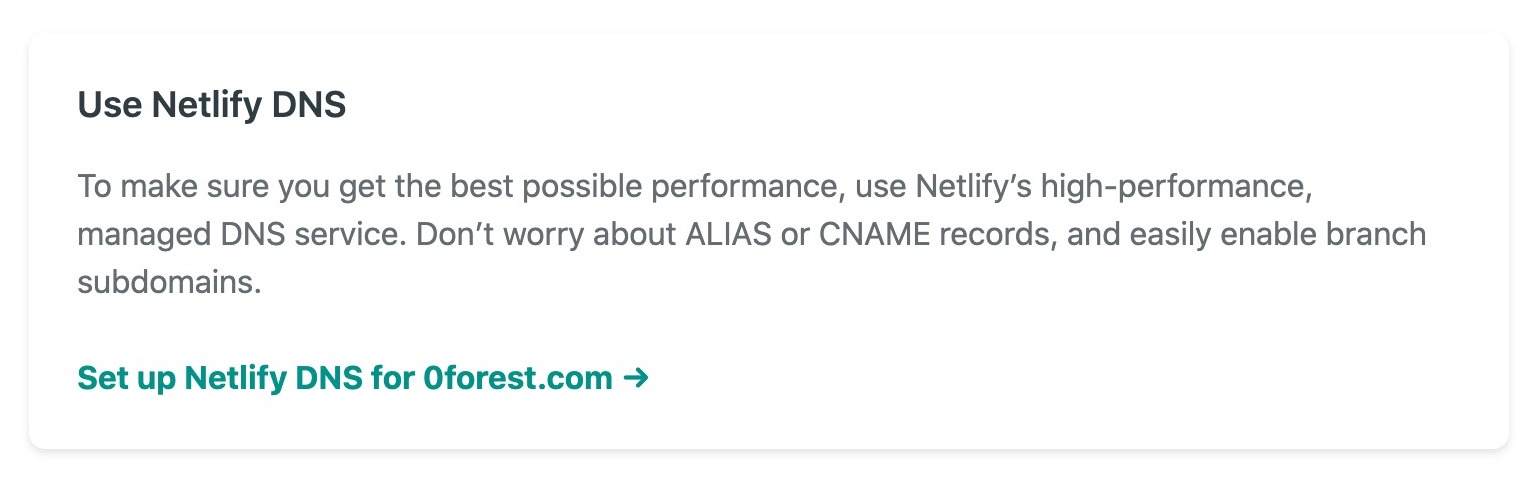
画面に従って、ドメインを設定していきます。

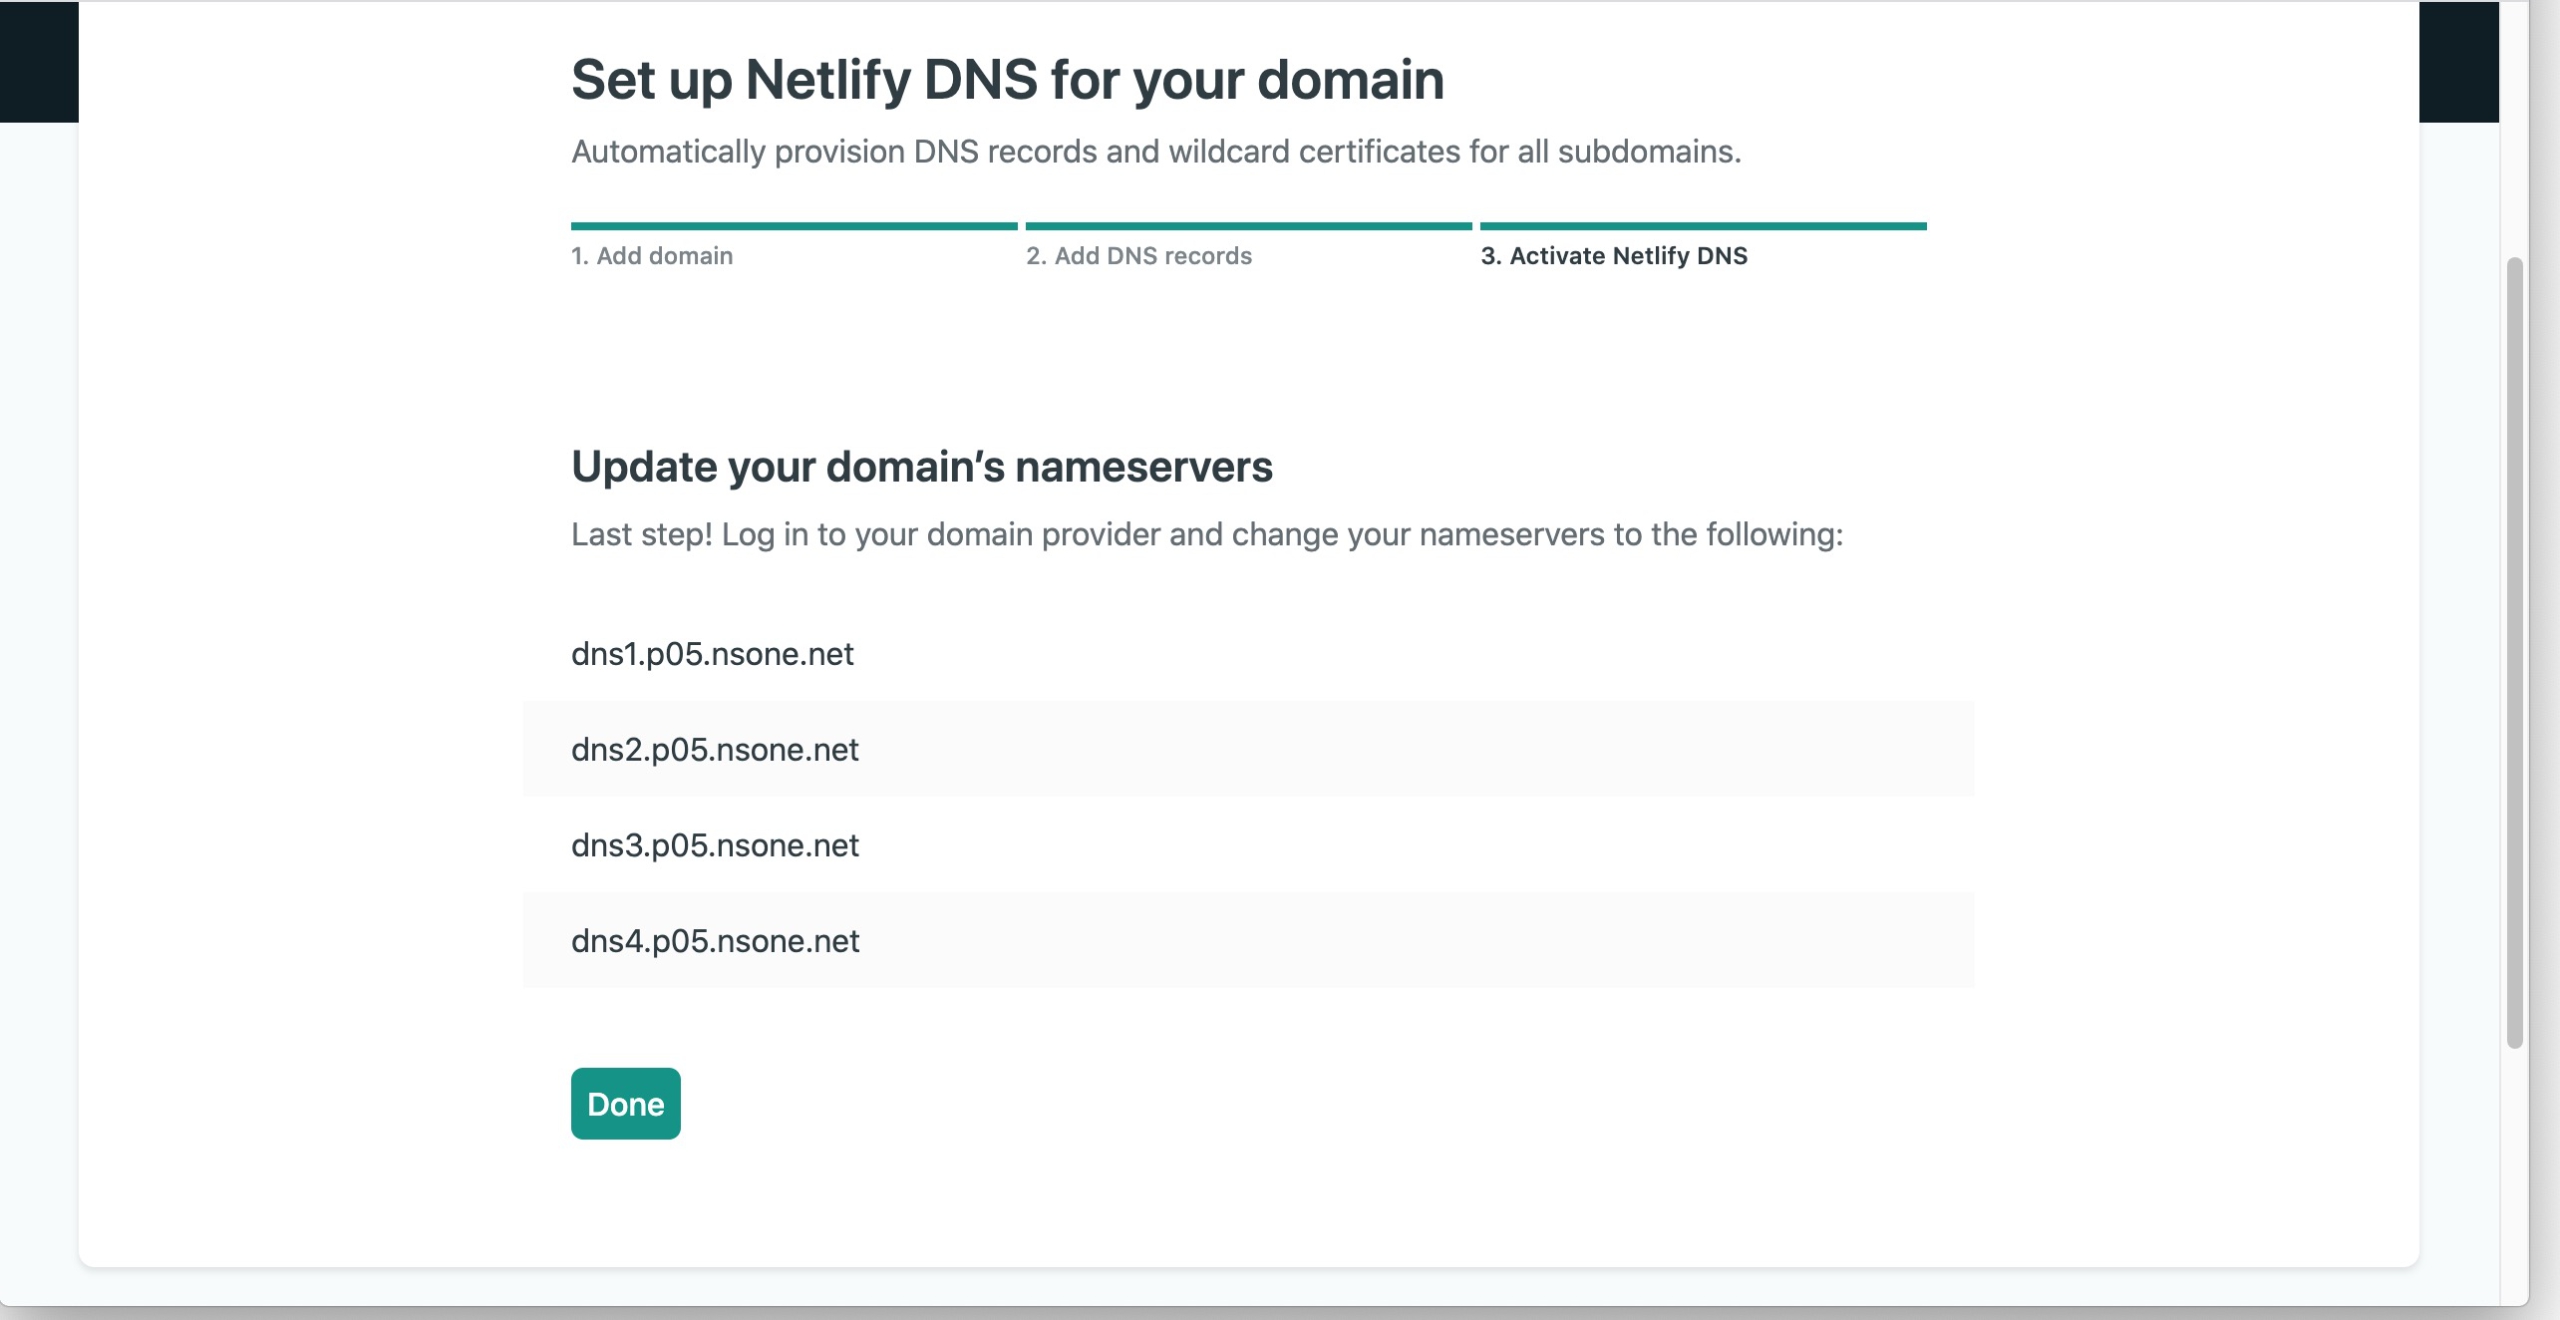
最後にネームサーバーの設定情報が出てくるので、これをドメインのネームサーバーに設定します。
ムームードメインの場合
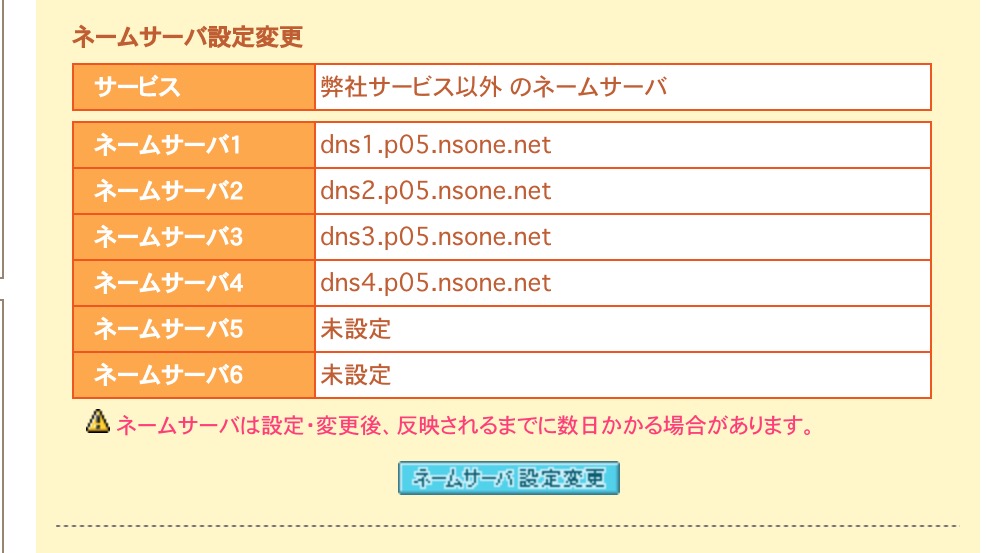
ムームー管理画面から、該当するドメインを選択>ネームサーバーの設定変更>「取得したドメインで使用する」
※「上級者向け」のネームサーバー1〜4に順に入力して、ネームサーバー設定変更ボタンを押して設定完了です。
その後、更新するとき
プロジェクトをビルド。
gatsby build更新したファイルをリモートリポジトリへプッシュ
git add -A
git commit -m "update"
git push
Netlifyでデプロイされて、ホームページに変更が反映されます。