


Still Figuring Out How to Write in My Notebook and Planner
This post was automatically translated by AI from the Japanese original. The screenshots are in Japanese.
I love handwriting, and I love jotting all kinds of things down in notebooks and planners. Whenever I have a spare moment, I browse stationery and planner accounts on social media.
Today I’d like to show you how I write in my notebook and planner.
I keep changing my approach so it fits whatever I need at the time, so this is just how I’m doing it for now.
My all-in-one notebook
My main notebook is an all-in-one notebook, and I try to put as much as possible into it.
For example:
- Reading notes
- My schedule for the day
- Morning pages
- A gratitude log
- Venting
- Notes on ideas, and so on.
For my daily schedule, I write out a timeline and what I did.

In my gratitude log, I sometimes press a “thank you” stamp.

In my reading notes, I just keep copying down sentences I like.

I haven’t used it yet, but I’d like to use a BOOK stamp I bought recently as a title.

At the end of each month, there’s also a page where I look back on the month (I couldn’t get a photo of it…).
I color-code the pages and decorate the edges with washi tape so they’re fun to look at. That said, I’m not especially passionate about decorating, and I also like scribbling away with a plain black pen.
I’m currently loving the notebooks and word stamps from Laddess Spirite (a Japanese stationery shop).
I heard Sakiko Fujimoto say it’s a good idea to prepare words to say to yourself in advance, so I tried it, and little by little my collection has grown.
For example, when I think “I have so much to do, and this is all I managed 😢”, pressing a “Enough” stamp feels like it lets me forgive and accept myself as I am now.
When I finish a task, pressing a “Done!” stamp lets me properly acknowledge myself in that moment.
I think it’s lovely to have stamps ready with the kind of words that stay close to you, the ones that are easy to forget.
It’s a different feeling from writing: you only get it from pressing a stamp with a pon.
I love stationery, so I also have the urge to use lots of different notebooks. Ha ha.
Sometimes I split them up, for example one for studying English and one for studying music. But when notebooks are scattered all over, they get heavy to carry around. I also end up getting picky, like “I can only continue this in that one notebook”, so I’d still like to keep to one if I can.
Monthly planner
I keep my schedule separate.
Lately there are ways to put it all in a notebook, like a bullet journal… but I still want a monthly calendar. And setting one up myself every month is a lot of work.
I don’t just want to manage tasks and my schedule. I also want to properly record what happened and how I felt at the time.
Store-bought planners are small and don’t have enough space, or their format is fixed, so they feel neither one thing nor the other. I’m still searching for a way that fits me just right.
This month, I decided to try a MUJI undated free schedule planner.
I decided to keep my schedule separate. Setting up my own layout every month is a lot of work. I tried it once and gave up partway. Also, when I want to see things on a yearly or monthly timeline, it’s nice to have a whole year in one book.
Precisely when I’ve become nearsighted in my daily life, I can step back and think, “I did this that month”, and see my progress from a distance. And I can cherish the year I’ve spent.
It’s an A5 undated type.
The reason is that I can customize it freely.
Since the monthly pages have no dates, I can start any time, and personally I liked that it gives me two pages per month.
This is how I use two facing pages for each month.


The first page is for my plans and a habit tracker.
The second page is a content planner, where I write my blog and social media posting plans.
I’m still experimenting with these.
I write my plans on sticky notes, and once a plan is done, I rewrite it in ballpoint pen.
I like that when a month of the habit tracker and content planner is laid out side by side, what I’ve done piles up and becomes visible.
I also set aside two facing pages for the weekly view in the same way.

- First page: To-do management
- On the right, I list to-dos as they come to mind
- On the left, I write what I’ll do that day
I’ve decided that what I want to do in a day is three things at most.
There Are Only About Three Important Things
The left page is split in two: the left half is for main tasks, and the right half for sub-tasks.
Main tasks are things like work, exercise, and the project I want to focus on this month.
Sub-tasks are things I want to build up over time, like reading, English study, and music practice.
I got this way of splitting main and sub from ChatGPT, when I asked it for advice because I was overwhelmed with the things I wanted to do.

- Second page: Reflection
- On the left, the page is split into three for what happened and how I felt that day
- At the end of the week, on the right page, I look back on the week and sum it up in three points
I took this way of writing from a book on the habit of reflection notes.
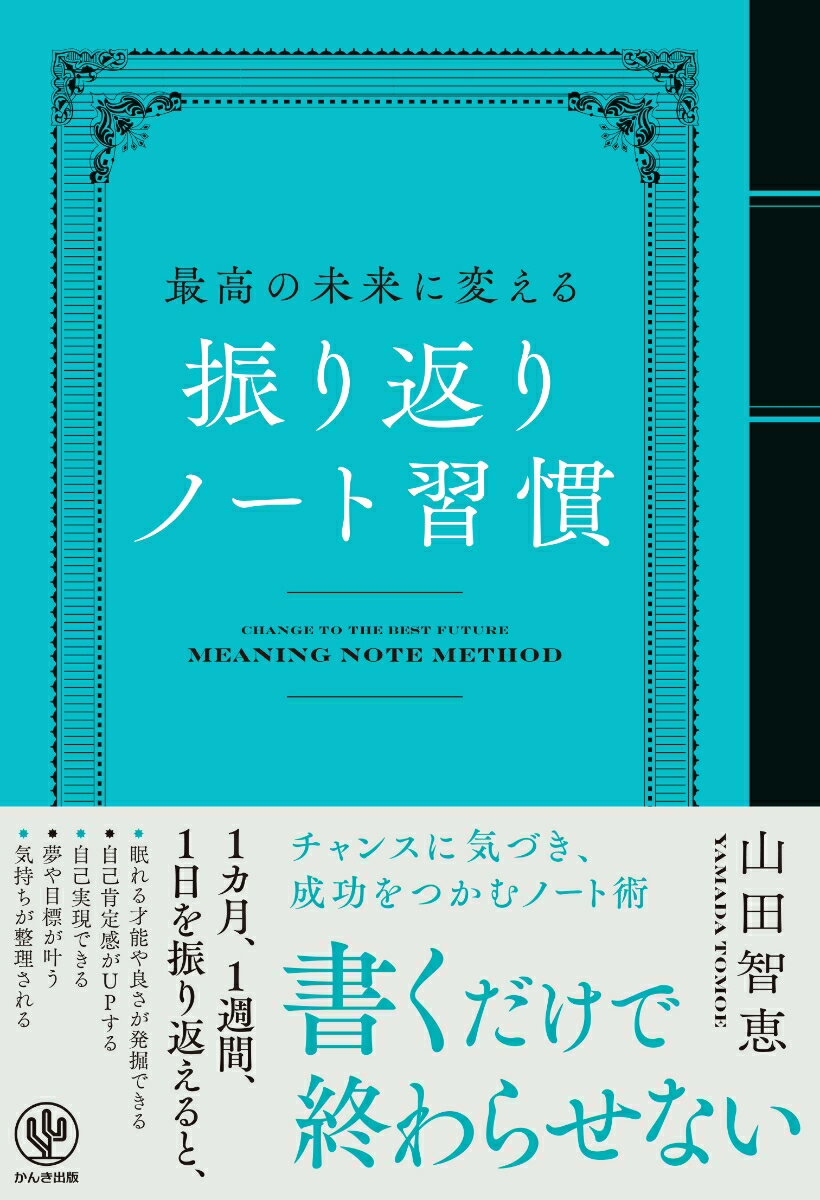
After writing, I draw lines in green, red and blue markers by theme, which makes the week’s highlights easy to see.
So far, I think this approach is working.
Related post


